Where to Start
Welcome! There are so many new wax seal products and ideas for using them,
it can be hard knowing where to start exactly.
Hopefully we can help take some of the guessing out of selecting what you are looking for.
When creating wax seals, you need three tools to start with:
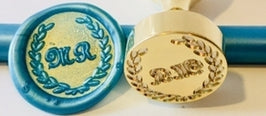
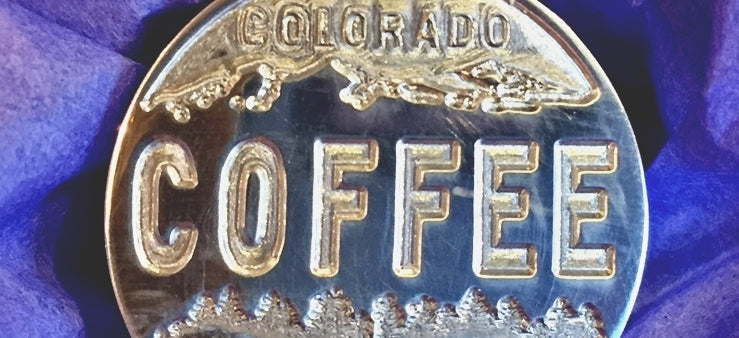
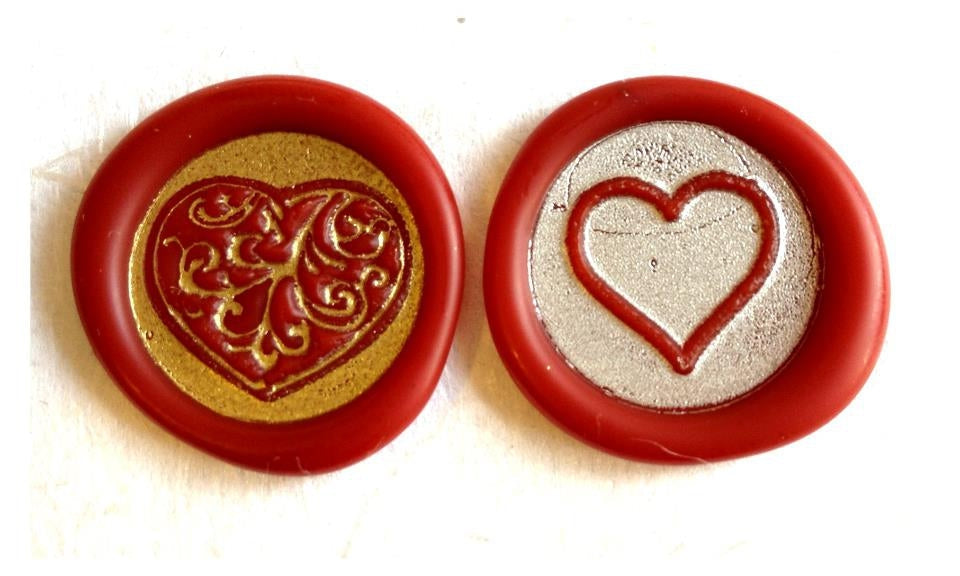
1. Wax Stamp
Do you want a single initial, two to three initials, or a design?
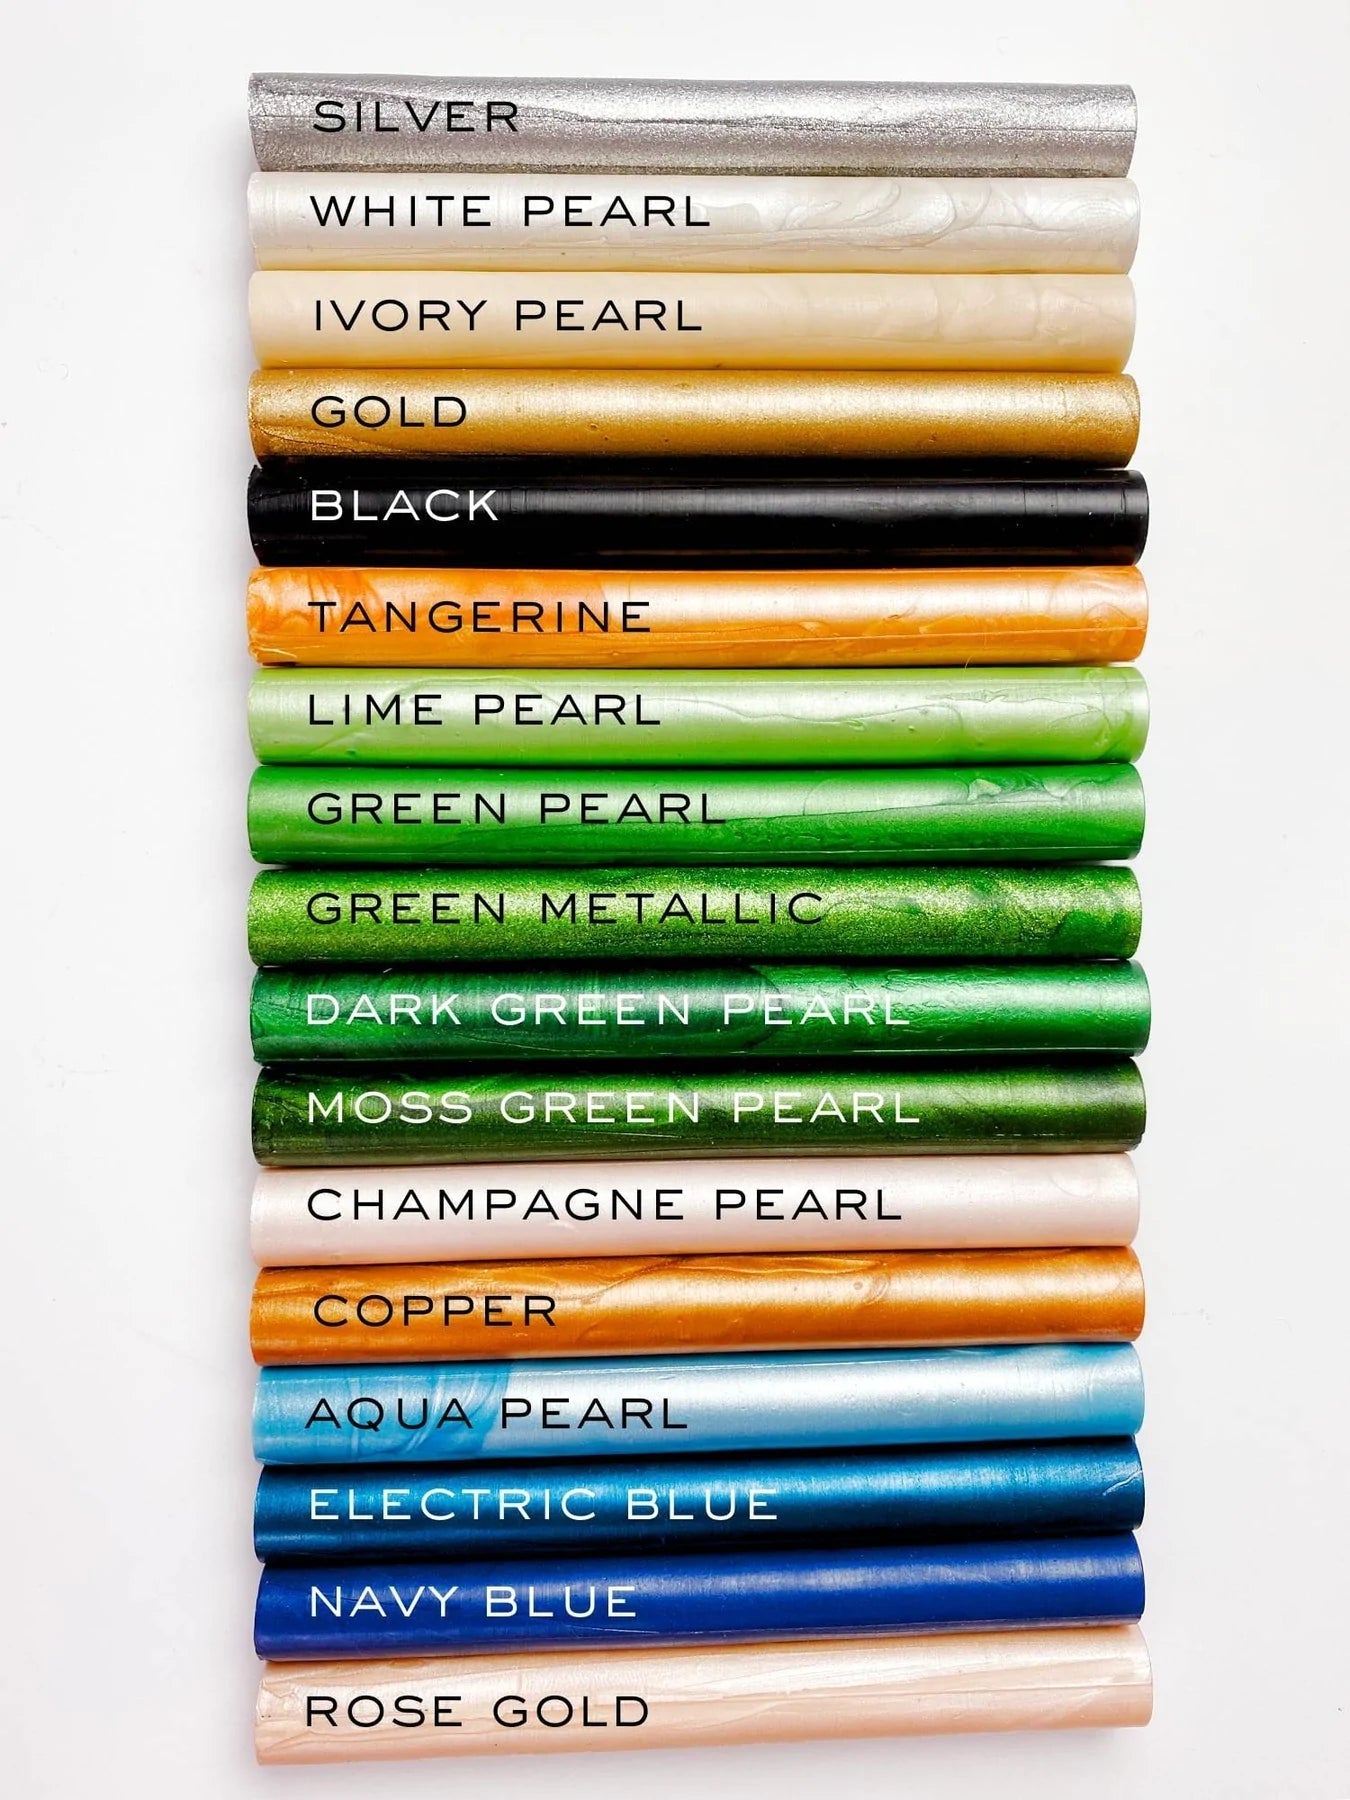
2. Sealing Wax
- Do you want the wax to be mailable on the outside of a letter?
- Should the wax crack when opened/flexed/tampered with?
- Are you packing food items or sealing bottles, and require a food rated wax?
- We have a wax comparison table to help narrow down your choices based on your use: Wax Comparison Table
Please note, postal offices use many automated machines for stamp canceling and sorting.
These machines could potentially smear/remove wax seals, even if these are mailable waxes.
Please consider using your seal on the inside of your mailing to avoid seal damage, or additional mailing/handling costs from your postal office.
3. Tools for Wax Application
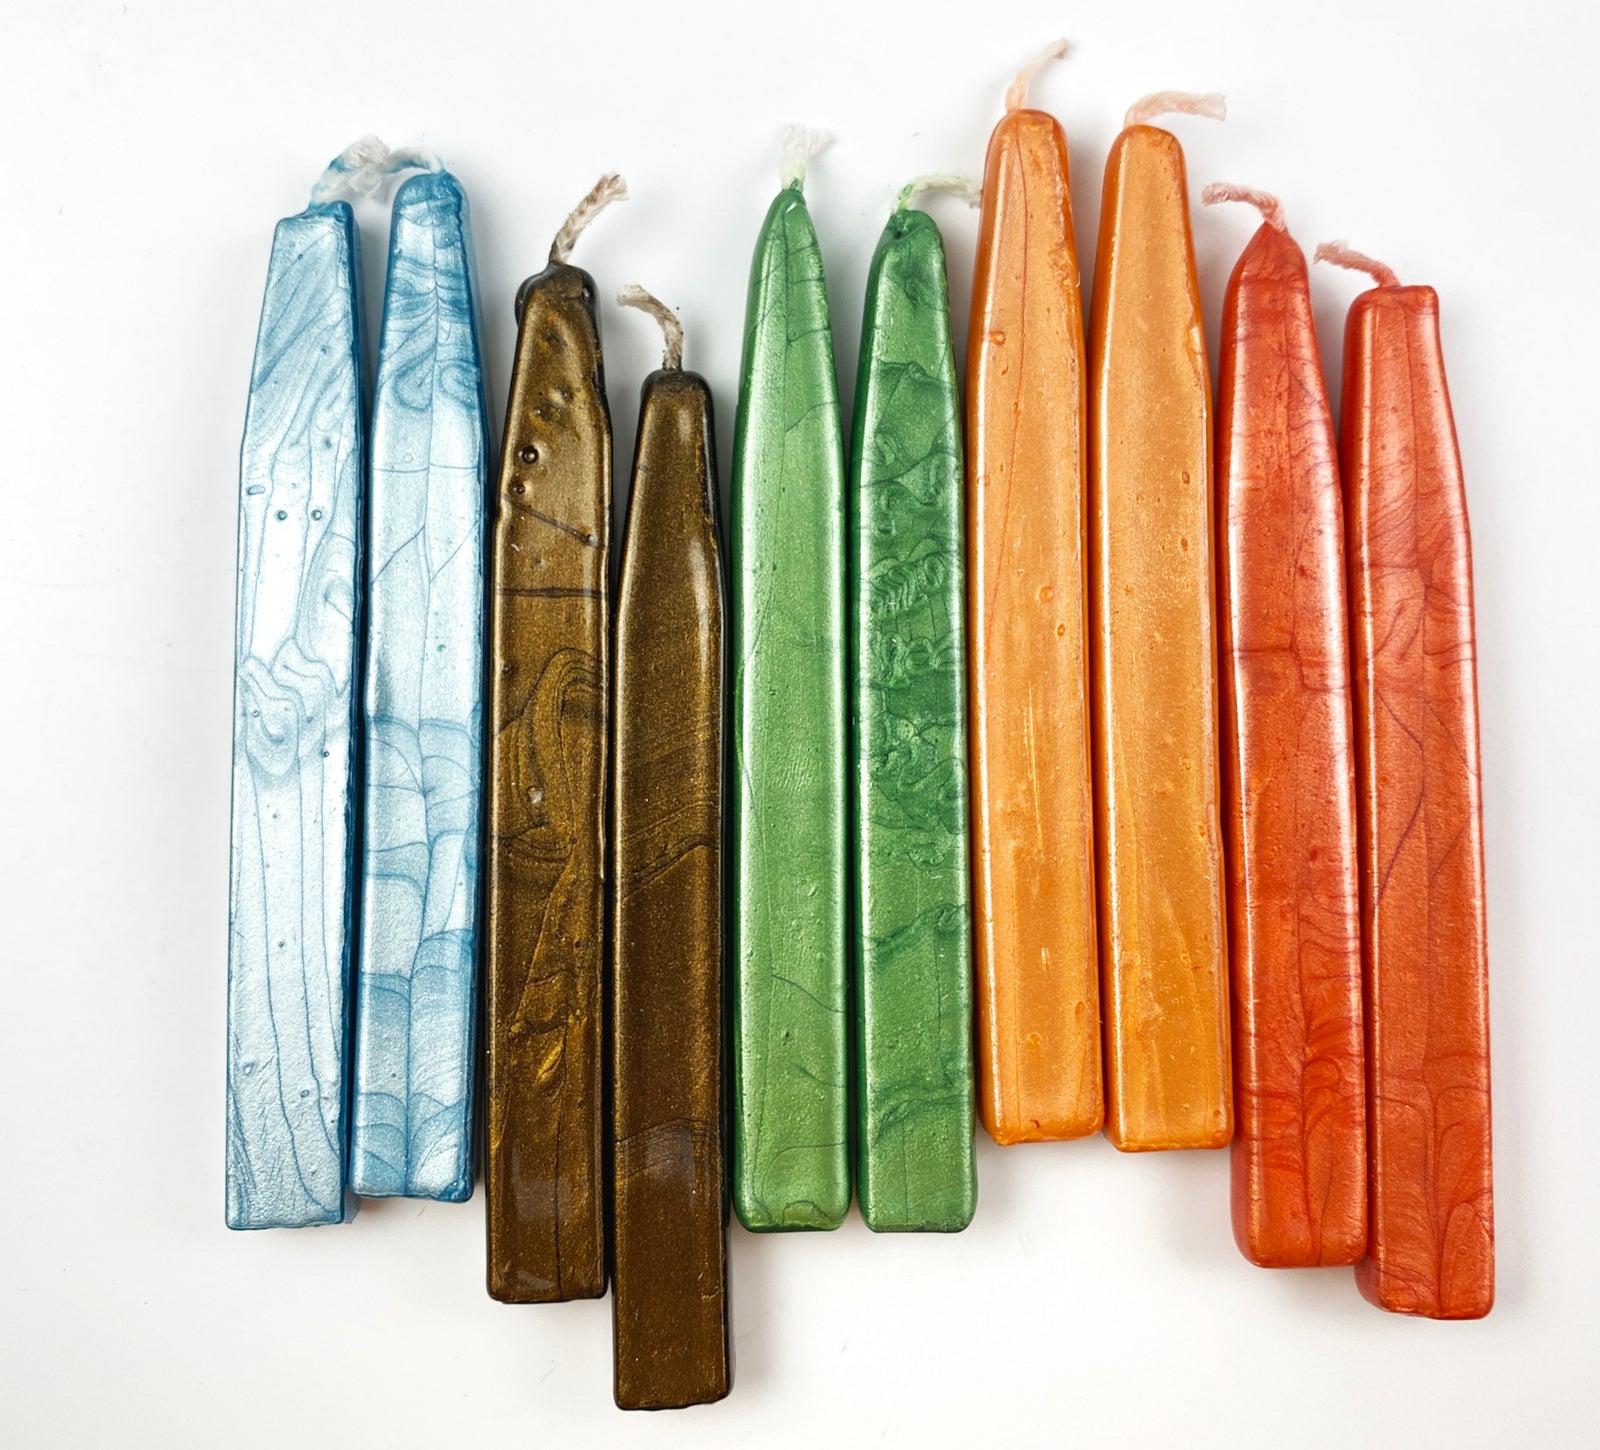
Wick style wax lit with a flame is perfect for a few seals at a time, or for giving as a gift.
All one needs in addition is a match or lighter.
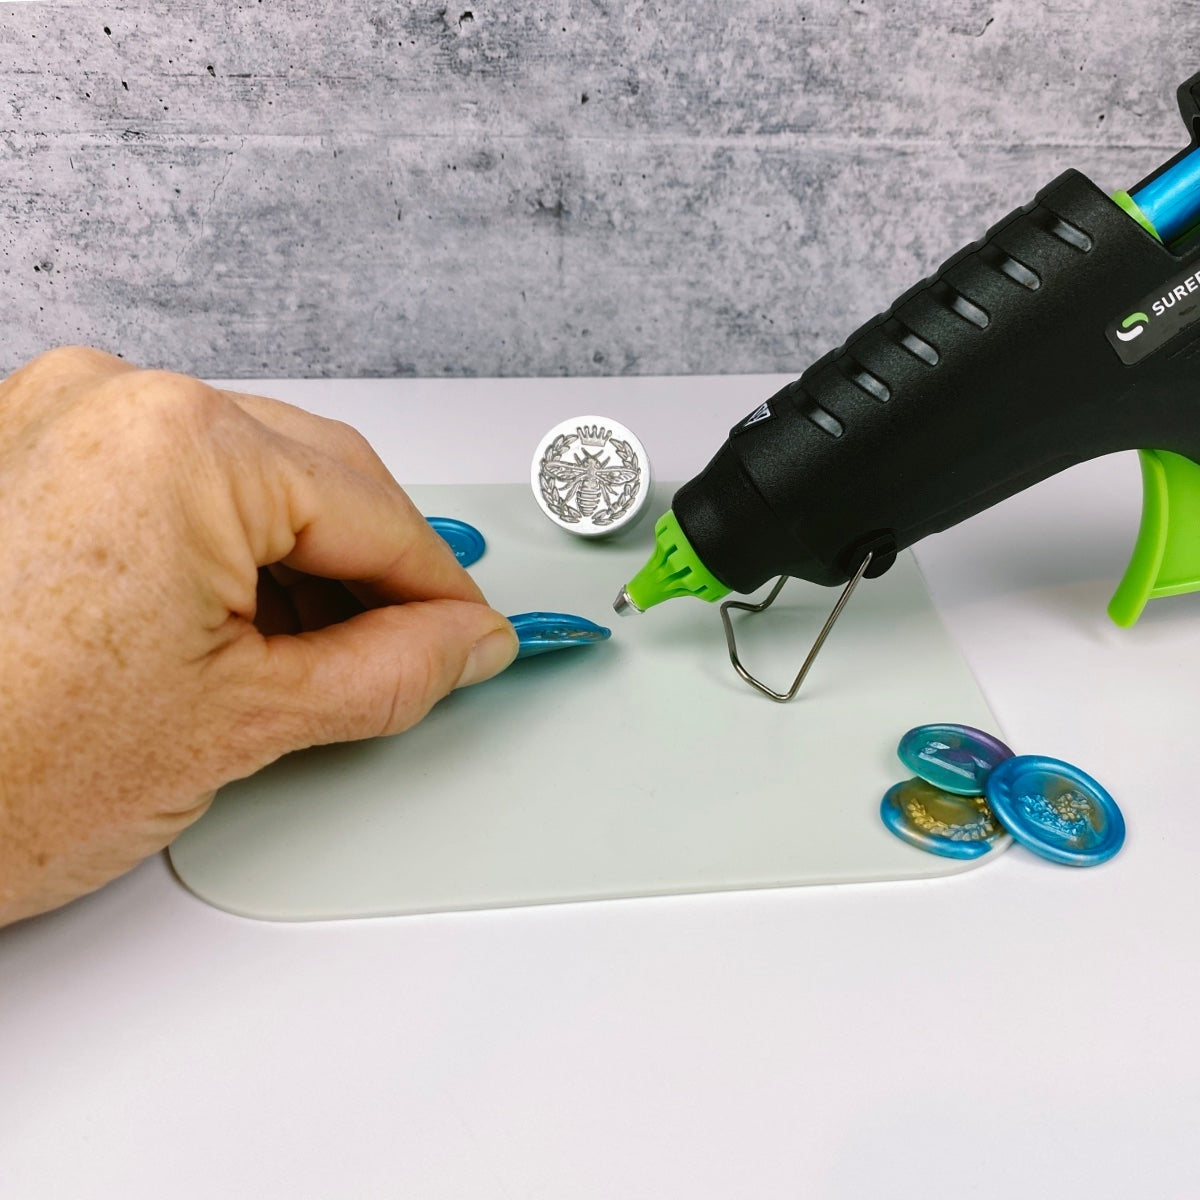
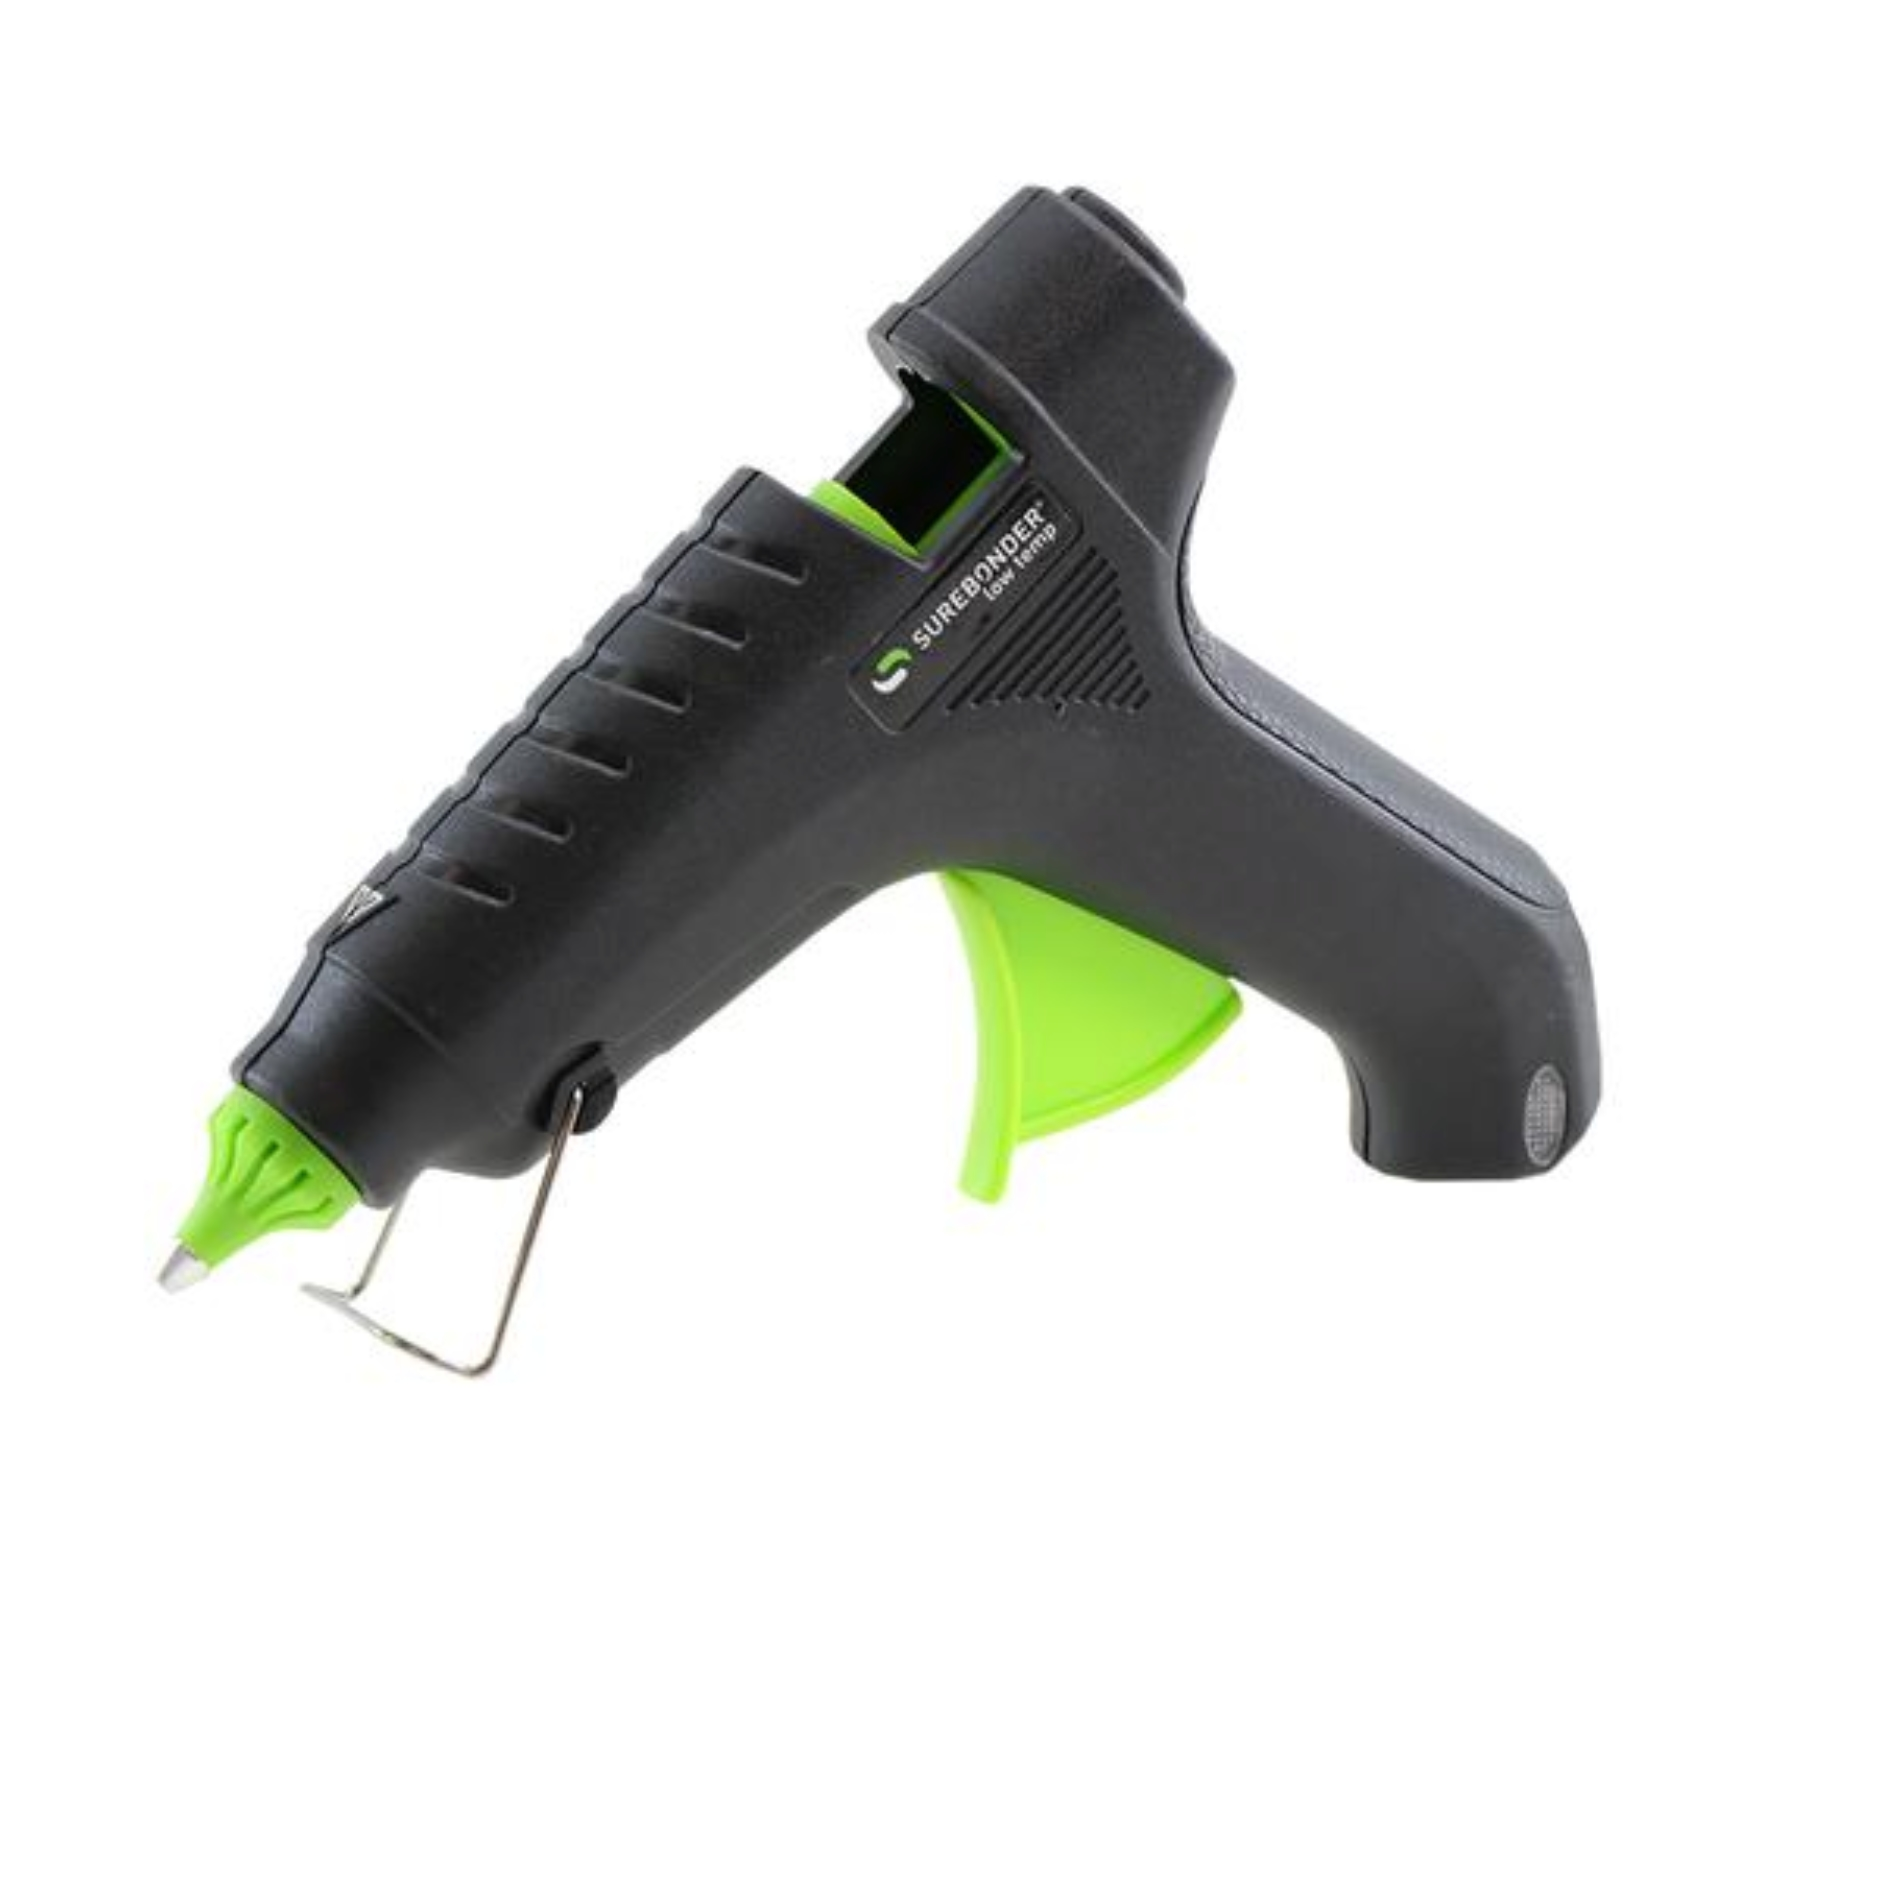
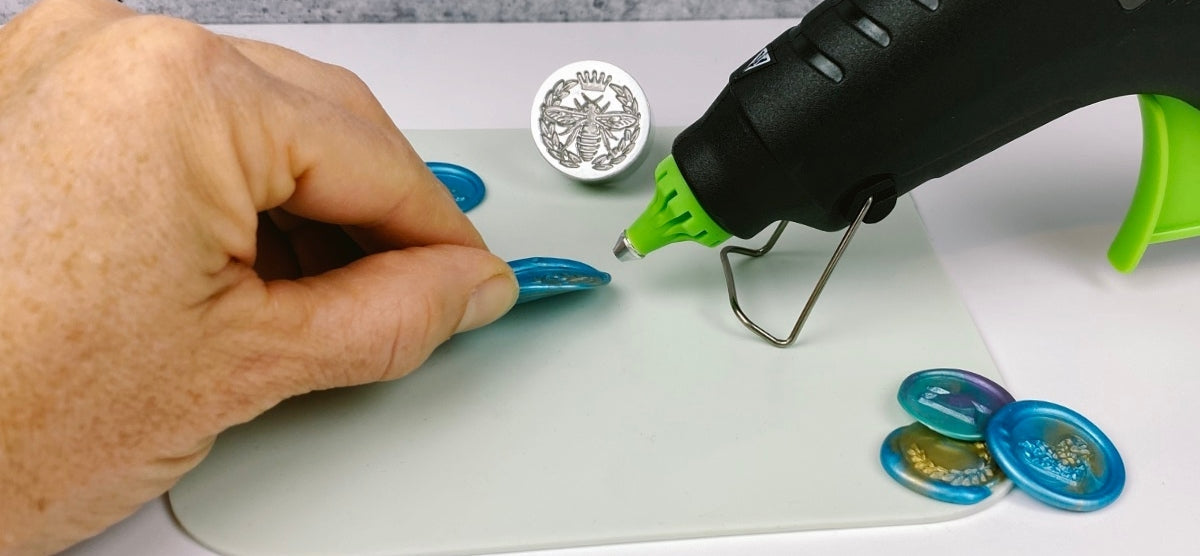
A production run of 10+ seals at a time would greatly benefit from the speed, ease, and cleanliness of the glue gun method. Waxes molded to fit a glue gun allow you to quickly "point and shoot" your wax exactly where you need it. This is very fast, and eliminates the possible contamination of soot from a wick.
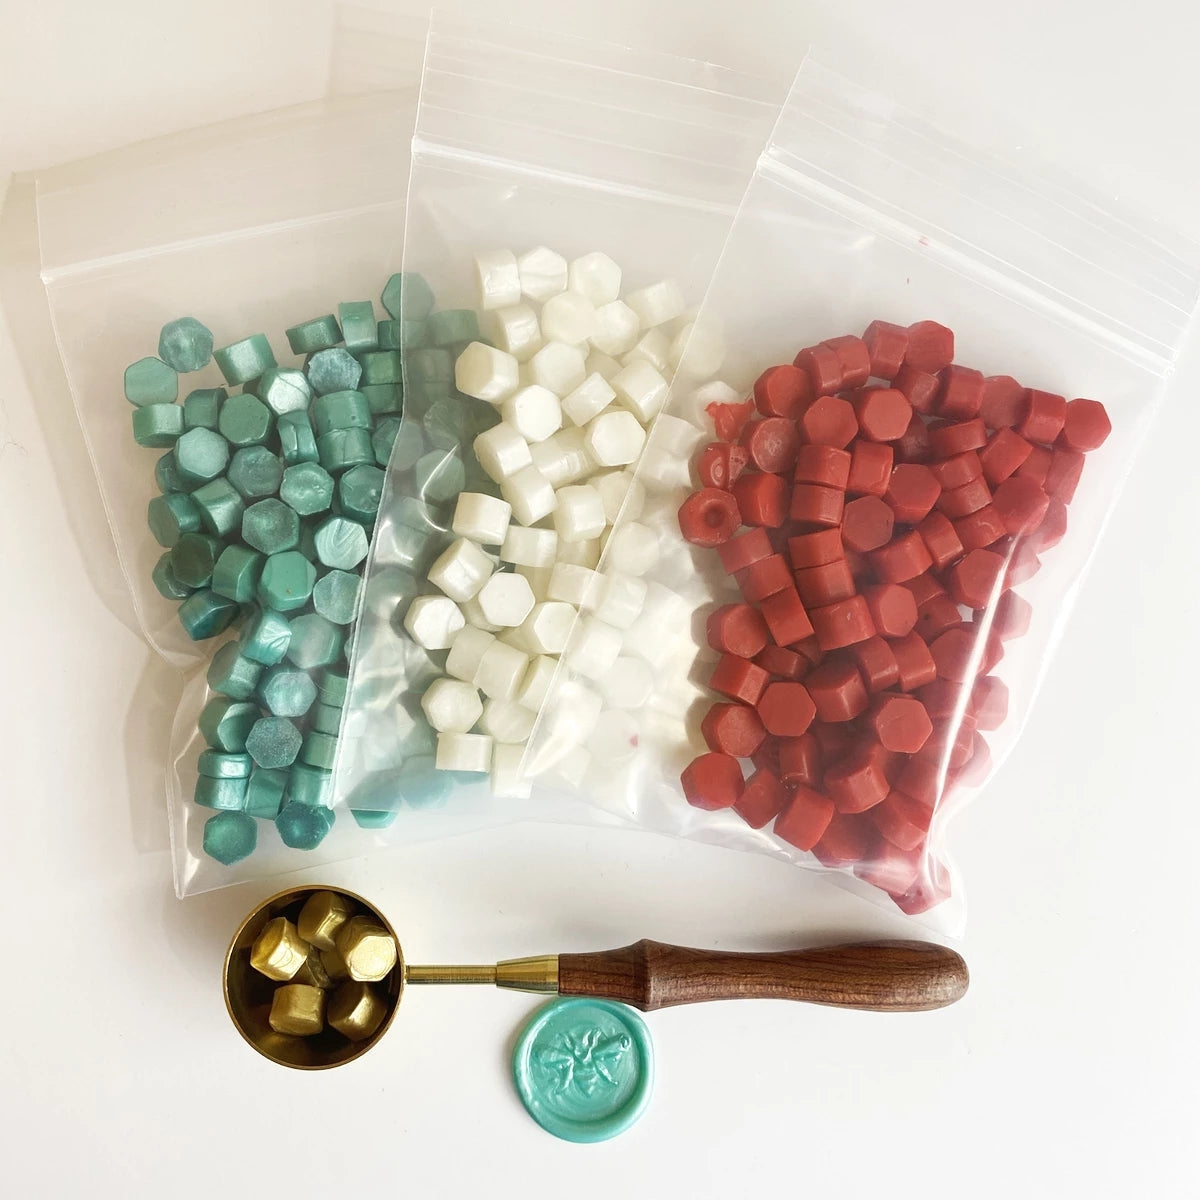
Melting Pots and Melting Spoons allow you to melt down bulk wax, or pieces of wax - blend to create new colors.
We have two documents here that can help narrow down your options for materials best suited to your needs.
Firstly is our “Sealing Wax Comparison Table”, which will categorize waxes based on their finish, application method, and origin.
Our second document “How to Use Sealing Wax” will help break down each method in a step by step fashion, illustrating the differences between each method, and what will work best for your needs.
![primary_cropped_847d8fe5-734c-45b6-9456-843d8e6e470c[product-name]-LetterSeals.com](http://www.letterseals.com/cdn/shop/files/primary_cropped_847d8fe5-734c-45b6-9456-843d8e6e470c.jpg?v=1614345763&width=740)
![primary_cropped_847d8fe5-734c-45b6-9456-843d8e6e470c[product-name]-LetterSeals.com](http://www.letterseals.com/cdn/shop/files/primary_cropped_847d8fe5-734c-45b6-9456-843d8e6e470c.jpg?v=1614345763&width=220)
