![Logo_header_2000px[product-name]-LetterSeals.com](http://www.letterseals.com/cdn/shop/files/Logo_header_2000px.png?v=1779647734&width=240)







Best Sealing Wax for Mailing Letters That Won't Crack
Best Sealing Wax for Mailing Letters That Won't Crack
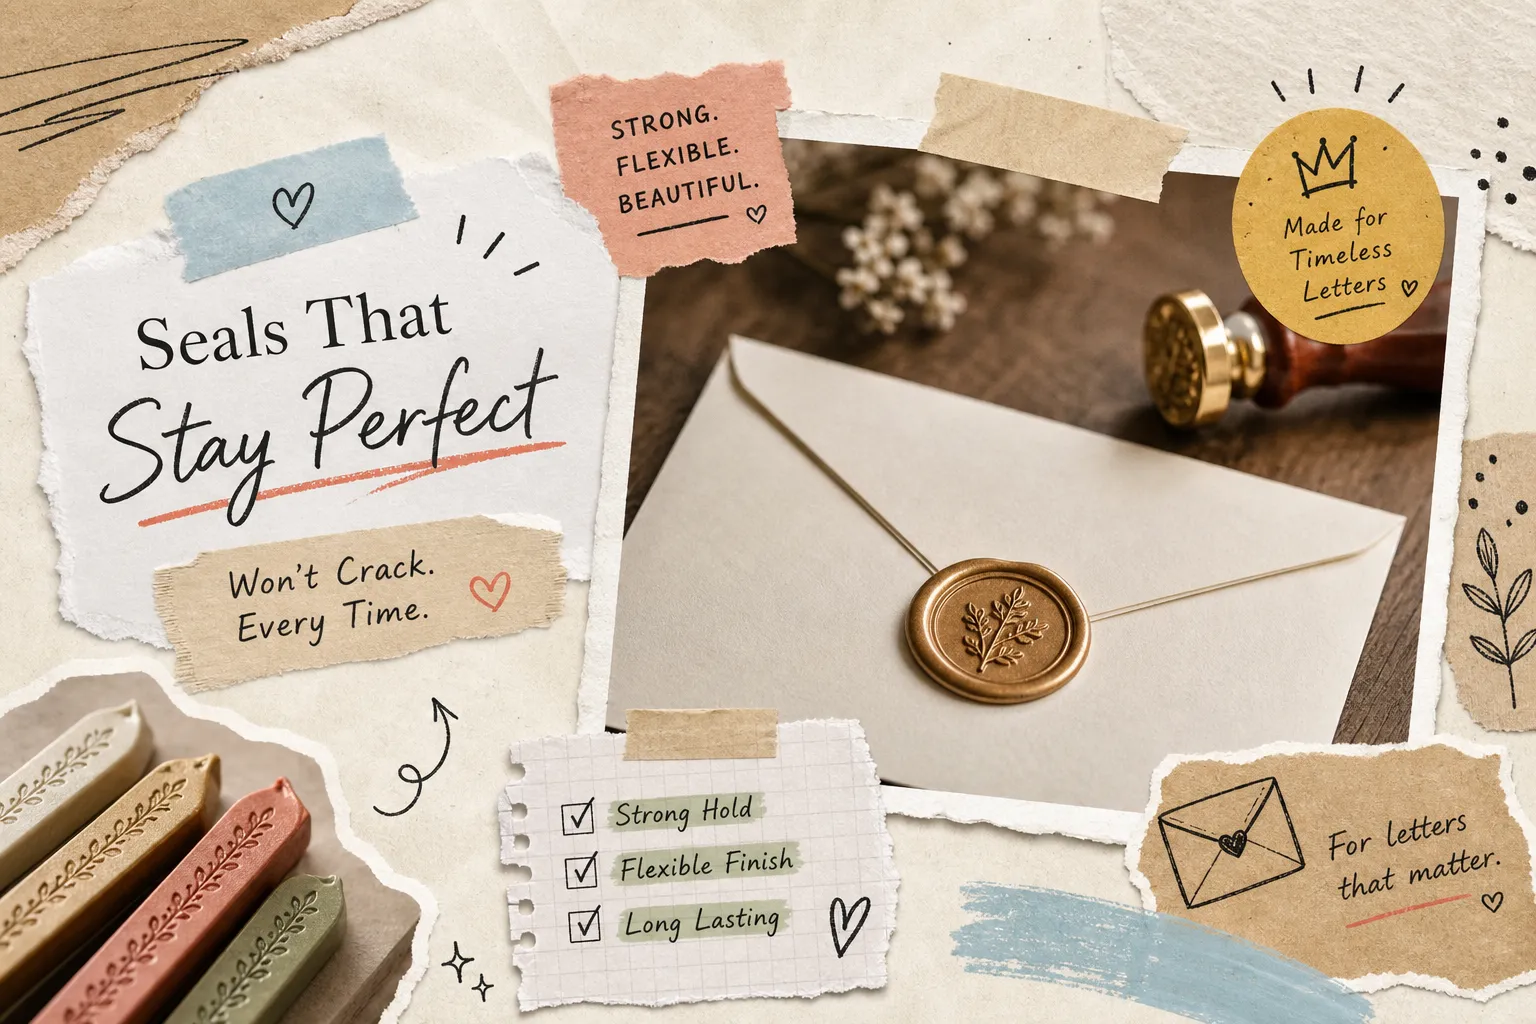
If you've ever asked what is the best sealing wax to use for mailing letters, you already know the frustration that prompted the question. You spent an hour melting wax, stamping each envelope, and arranging a stack of perfectly sealed letters, only for the recipient to open the outer envelope and find the wax seal in three pieces at the bottom, completely detached. The letter is still intact, but the moment you worked so hard to create is gone. That scenario plays out more often than it should, and almost every time, the culprit is the wrong type of wax.
Not all sealing wax is built to travel. The wax you buy from a craft store display rack is likely formulated for visual drama at a desk, not for survival inside a USPS sorting machine. There is a meaningful chemical difference between decorative wax and mail-friendly wax, and choosing the wrong one means your carefully crafted seals have almost no chance of arriving the way you imagined them.
This guide breaks down exactly which wax formats survive in transit, how USPS handles sealed envelopes, and the application techniques that separate seals that land beautifully from seals that arrive as loose chips. LetterSeals.com has spent years helping letter writers navigate this exact problem, testing mailable wax formats so you don't have to start from scratch.
Why hard sealing wax cracks in the mail
Most decorative sealing wax found in gift shops and craft retailers is formulated for ceremony, not durability. The chemistry behind these products explains directly why they fail, and what to look for instead.
What traditional wax is actually made of
Traditional sealing wax uses shellac and pine resin as its primary binders. These ingredients create a rigid, adhesive seal that looks stunning on a desk but becomes structurally vulnerable the moment it goes into a mail bag. Historically, this brittleness was intentional: a cracked seal proved someone had tampered with your letter, which was the entire point for centuries of private correspondence.
That security feature works directly against you when USPS automated sorting machine rollers apply pressure to your envelope. The rollers press down harder on any raised surface, and a brittle shellac seal fractures under that localized force. The wax is not defective; it is performing exactly as designed. You simply need a different formulation for anything that needs to travel.
How flexible sealing wax is different
Flexible wax replaces brittle shellac with paraffin, microcrystalline wax, or synthetic plasticizers. These ingredients allow the seal to bend without fracturing, absorbing the pressure of automated sorting rather than resisting it until it breaks. The result is a seal that can handle the physical reality of the postal system.
Glue gun sealing wax sticks are a classic example of this flexible formulation. Their synthetic polymer base is what makes them mail-friendly by default. Modern flexible bead waxes follow the same principle, designed to resist cracking even when the envelope bends during transit.
What USPS actually requires for sealed envelopes
A wax seal on the flap does not automatically mean your letter gets rejected. USPS allows wax seals, but they come with specific requirements that affect postage cost, processing method, and placement on the envelope.
The non-machinable surcharge and what triggers it
A wax seal creates a raised bump on the envelope surface. That profile prevents the letter from running cleanly through automated sorting machines, which classifies it as non-machinable. USPS charges a non-machinable surcharge on top of standard First-Class postage for these letters, $0.49 in 2026, bringing the total to $1.27 for a standard one-ounce letter. USPS sells a dedicated Non-Machinable Stamp pre-printed with that $1.27 value, which simplifies the process at the counter.
The wax seal must never serve as the primary closure. Seal the flap first with the envelope's adhesive strip or a thin line of glue, and let the wax act as embellishment only. Placement also matters: the seal belongs on the back flap where the flap meets the envelope body, not on the front or near the address area where it could obstruct sorting information. Keep total envelope thickness under 0.25 inches, since anything thicker is reclassified as a flat or parcel and priced accordingly, a common surprise for first-time mailers stacking multiple inserts.
Hand-canceling and the inner envelope method
Requesting hand-canceling at your local post office means a USPS employee processes the letter manually rather than feeding it through automated equipment. This reduces machine contact and the risk of damage significantly. Some post offices are more consistent about honoring this request than others, so it's worth calling ahead for large batches like wedding invitations.
The most reliable method for precious or formal mail is the inner and outer envelope approach. The wax-sealed inner envelope rides inside a plain, properly addressed outer envelope that goes through machines normally. The outer envelope absorbs all the mechanical handling, and the sealed inner envelope arrives untouched. This is the traditional standard for wedding stationery, and it is how formal invitations have been handled for generations.
What is the best sealing wax to use for mailing letters? Formats compared
Once you know you need a flexible formulation, the format question comes next. Each of the three main options has a distinct sweet spot depending on your project scale, timeline, and how much the handcrafted look matters.
Glue gun sealing wax sticks: fastest and most consistently flexible
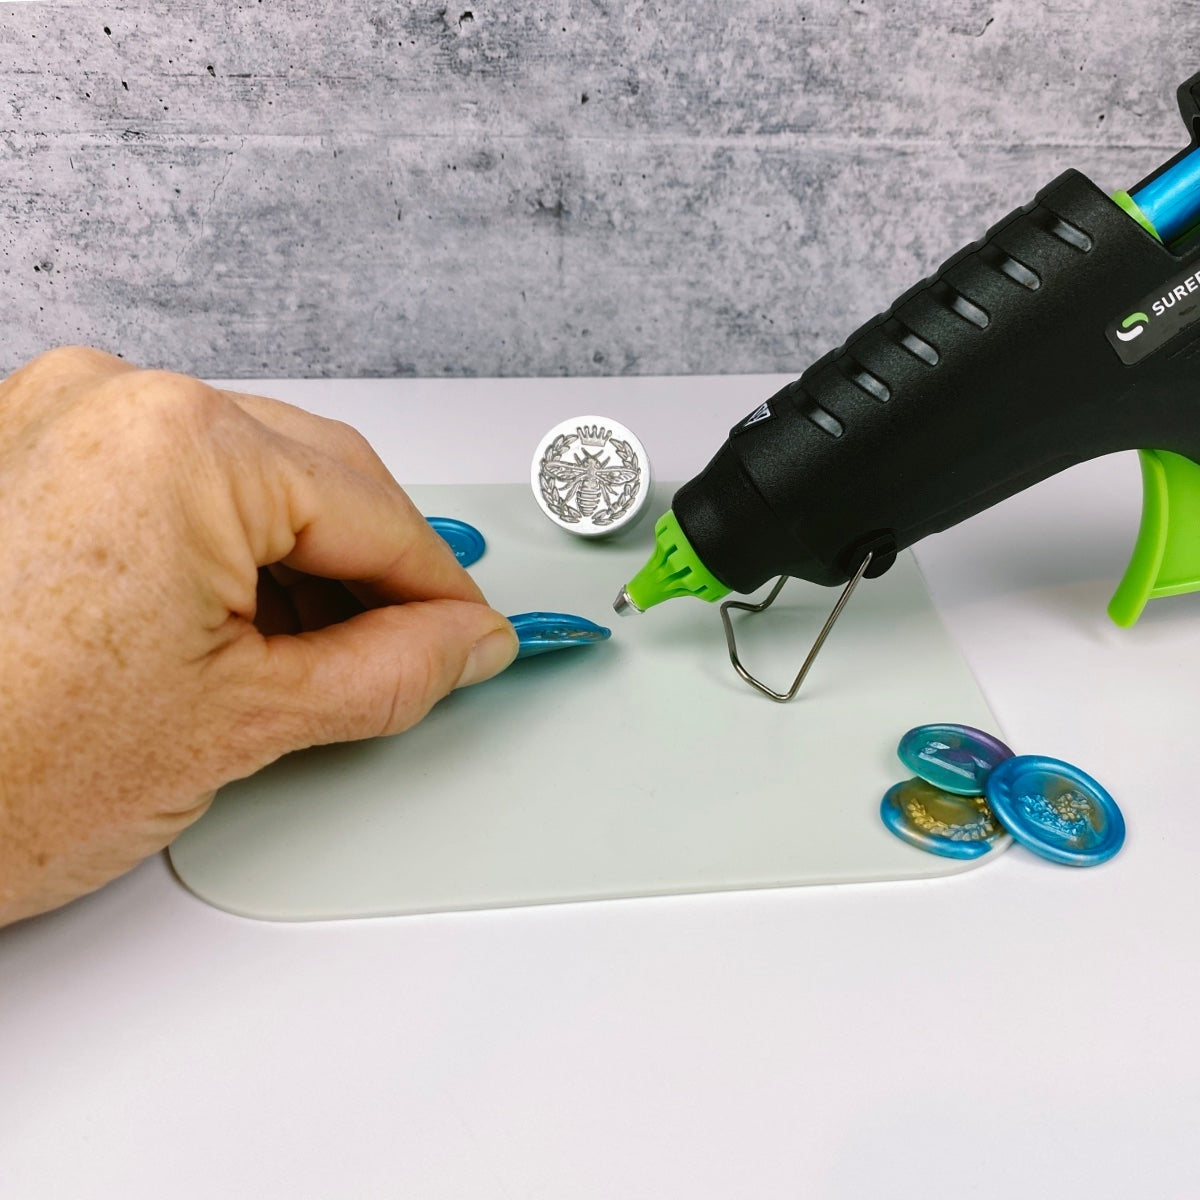
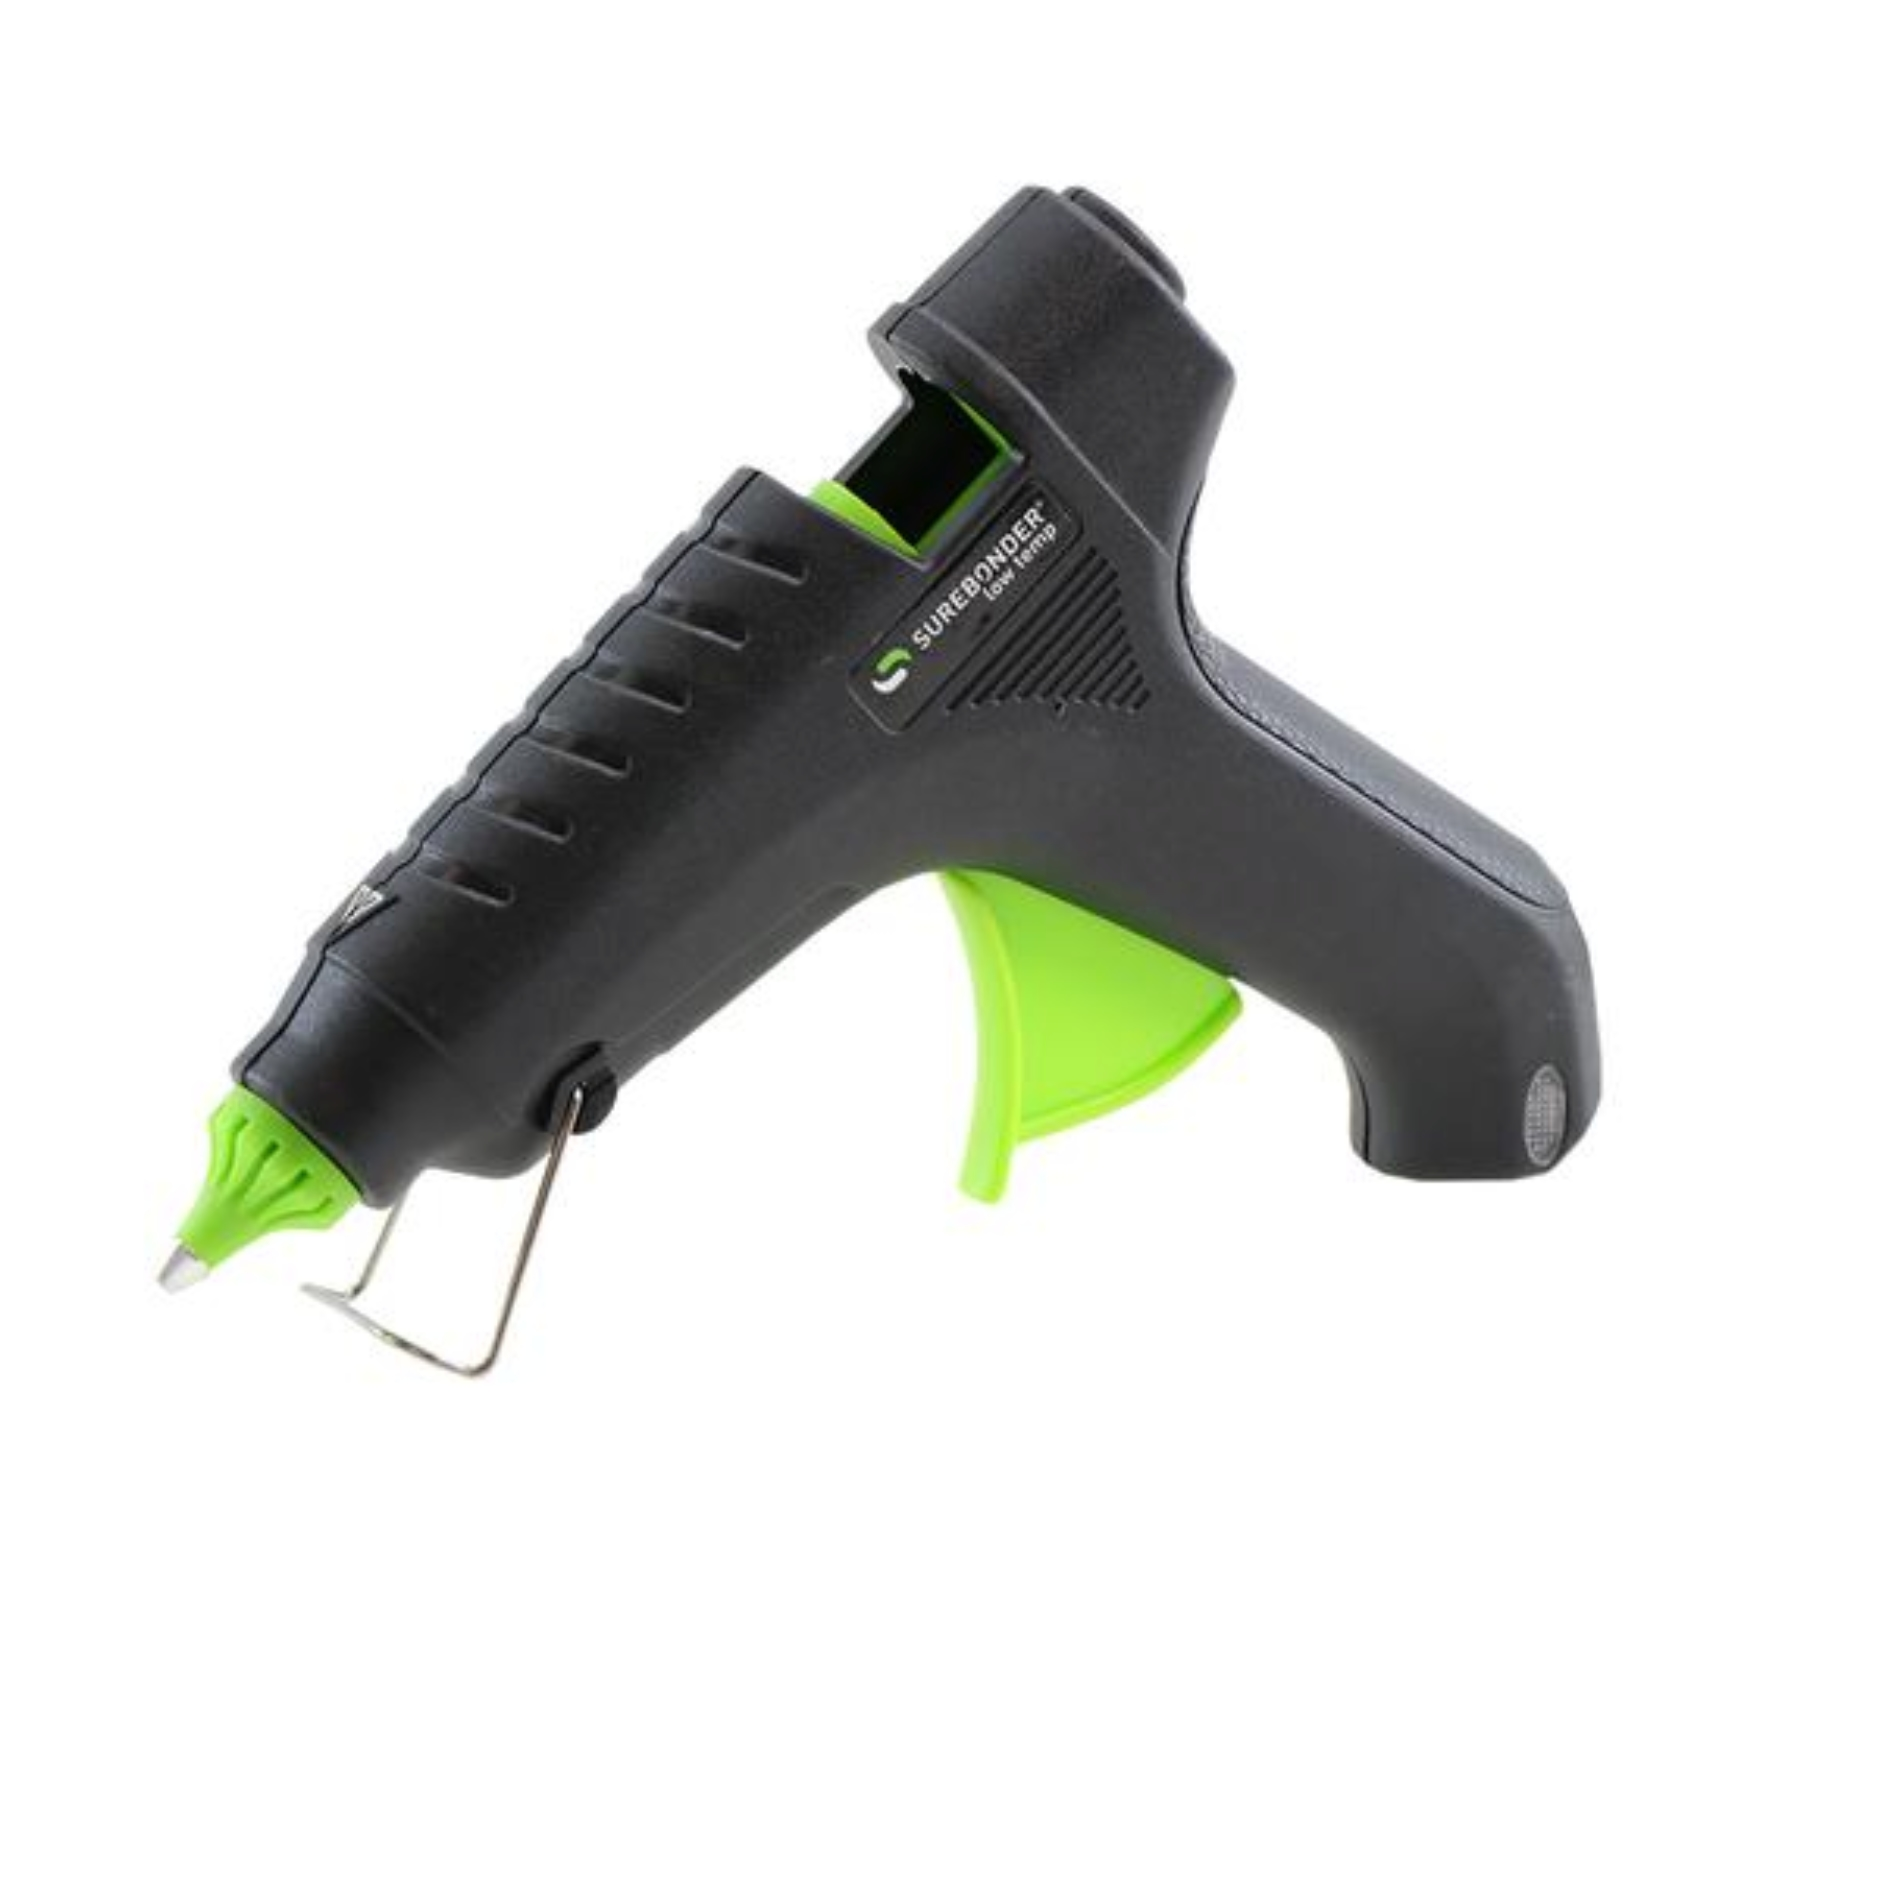
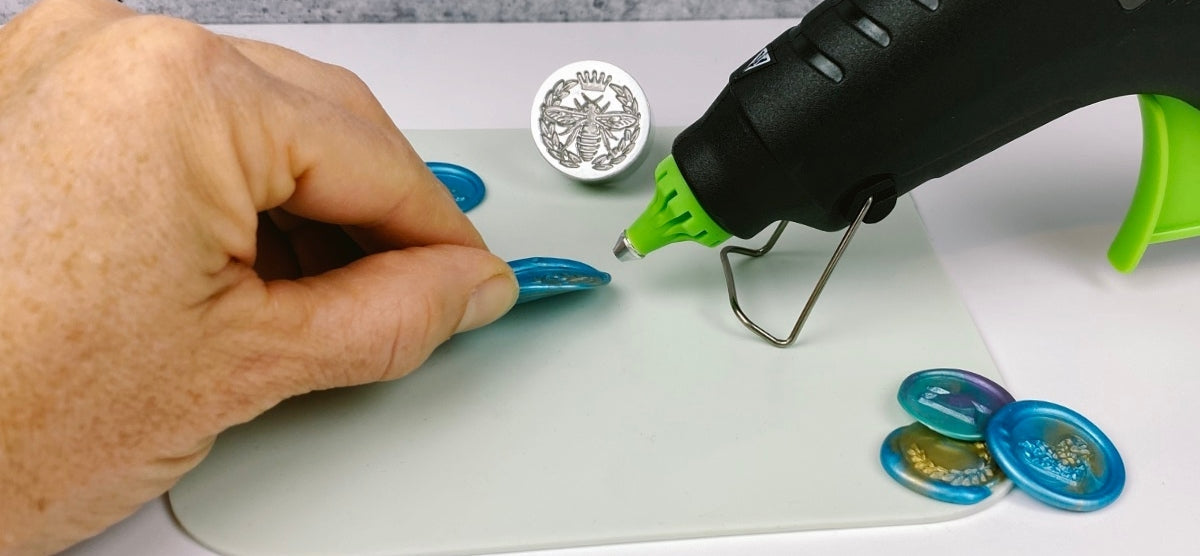
Glue gun wax sticks are inherently flexible by formulation. The synthetic polymer blend used in these sticks gives them the suppleness to survive in transit without cracking or chipping, and a low-temperature glue gun operating between 250°F and 280°F keeps the wax flowing smoothly without scorching or dulling the finish. Standard craft glue guns run between 380°F and 420°F, which is too hot and will burn your wax, so a low-temp gun is non-negotiable for this method.
For volume work, glue gun sticks are the most practical choice. Sealing 50 envelopes with a low-temp wax gun takes a fraction of the time required with a melting spoon and flame. LetterSeals.com carries glue gun sealing wax sticks specifically formulated for postal use, available in dozens of colors, so you are not guessing at flexibility when you order.
Flexible wax beads: best color control and finish
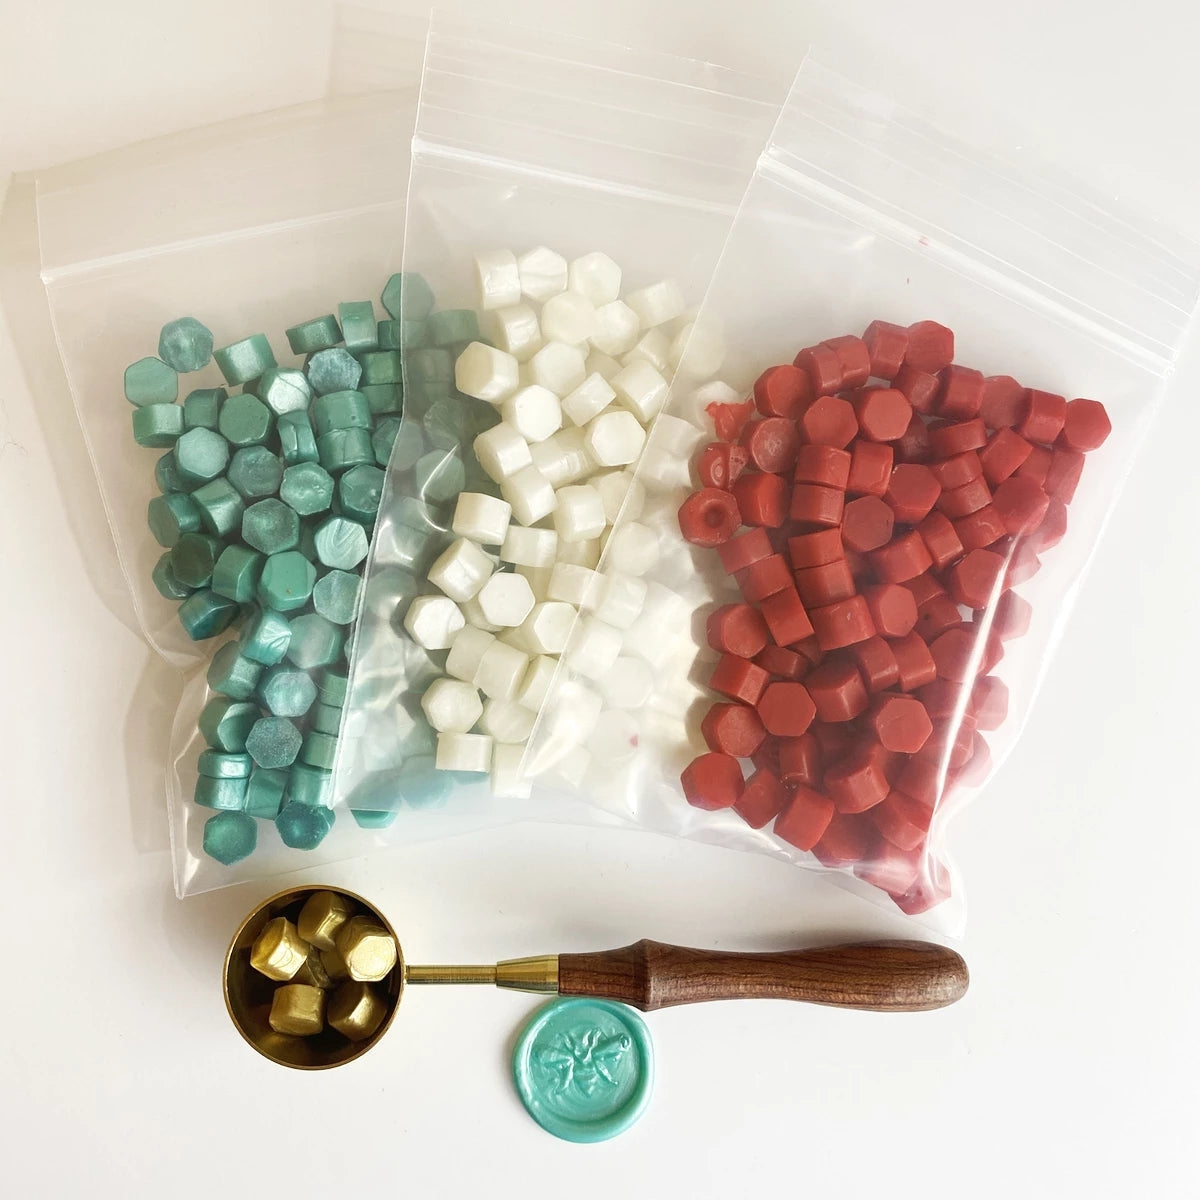
Wax beads melt in a warming spoon over a flame or in an electric melter, giving you precise control over pour volume and temperature. Flexible bead formulations, including those in LetterSeals.com's line, which are tested specifically for mailing, are designed to resist cracking while producing the richest, most dimensional-looking seals. That slight depth is something glue gun sticks can occasionally struggle to match.
Testing your seal before it hits the mailbox
Before committing to a full run of 50 or 100 sealed invitations, test one seal the way the postal system will treat it. This step takes two minutes and prevents the kind of heartbreak that comes from opening a stack of returned mail.
The bend test and the drop test
Hold the sealed envelope with both hands and bend it gently along its length, mimicking the pressure of a sorting machine roller moving across the surface. A flexible wax seal will hold without cracking or releasing from the paper. A hard, brittle seal will fracture or pop off cleanly, telling you exactly what would happen in transit.
Next, drop the sealed envelope onto a hard floor from waist height, back-side down. If the seal chips or detaches, the wax formulation or adhesion method is not strong enough for the mail. If either test fails, switch to a more flexible wax format, reinforce the backing with stronger adhesive, or both. Run the test again before committing to the full batch.
Packaging sealed envelopes for extra protection
When mailing sealed envelopes in bulk, avoid rubber-banding them together or stacking them with the seal surface pressed against adjacent envelopes. Friction and pressure from neighboring envelopes during transit is one of the most common causes of seal scuffing and edge chipping. A sheet of tissue paper between stacked envelopes is a simple fix.
If you are shipping sealed stationery as a packaged product rather than mailing individual letters, pack them in a rigid box with tissue paper or foam to prevent bending or direct surface contact. A flexible seal is engineered to handle postal processing, but it is not designed for the sustained pressure of being sandwiched inside a soft poly mailer.
Choosing the right wax and sending with confidence
When deciding what is the best sealing wax to use for mailing letters, the answer always comes back to flexible formulation. Whether that means glue gun sticks, mailing-safe wax beads, or pre-made self-adhesive seals depends on your project scale, your timeline, and how much the handcrafted look matters to your recipient. All three work when you choose the right product within each category.
Keep the USPS requirements in mind before the envelopes leave your hands. Seal the flap first with adhesive. Place the wax seal on the back flap only. Pay the $0.49 non-machinable surcharge or use the inner envelope method to protect the seal entirely from machine contact. Skip any one of these and the seal is unlikely to survive the journey.
Application technique matters as much as wax type. Pre-make your seals off the envelope, secure them with double-sided tape or liquid glue, and run both the bend test and the drop test before sending your full batch. LetterSeals.com is the starting point for all of these supplies: mailable glue gun wax sticks, flexible wax beads, and wax seal stamps and accessories built by letter writers who have already done the testing for you.


Leave a comment