


How to use sealing waxes & tools
For someone new to wax sealing there can be a lot of questions - we understand!
The concept for wax sealing is to:
- place hot wax in the area you want the seal to be,
- pressing a decorative surface into the hot wax
- allowing these two items to rest together long enough for the impression to set into the wax.
Jump to your method below - or scroll down to view our videos:

The melting of the wax can be done in many different ways:
- dripping off of a wick style sealing wax stick.
- melting a wickless sealing wax stick over a flame and "smearing" the wax onto your project
- pre melting the wax and applying with a spoon
- and our favorite - using a glue gun to "point and shoot" your wax exactly where you need it.
We have listed our differing methods of wax melting and application below, with hopes that explanations are clear, and that the process becomes a fun exercise without any confusion.
Traditional Sealing Wax with Wick

- Light the wick of the stick and hold it like a candle (vertically) until you see wax begin to melt around the base of the wick. The melting wax will provide the fuel for the flame to stay lit.
- Slowly tip and hold the wax stick at a slight 20 degree angle (lit end down).
- Holding the stick directly on & over the area where you wish to make your seal, allow the melting wax to pull itself onto the project creating a pool large enough for the sealing coin.
- If you find the wax begins to set while you are still melting the wax, move the candle around the area to mix hot wax with the cooler wax.
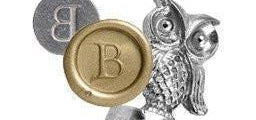
- Dab your seal into our Seal Non-Stick (or Highlighting Ink for a dimensional look) to prevent the seal sticking to the sealing wax.
- Emboss with your seal and lift straight up.
- If you are not using a non-stick product and find the wax won't let go of the seal, simply let your seal rest on the wax until the wax is completely cool, then lift your seal off.
- For strong waxes, we recommend resting your seal on ice before embossing the hot wax - this will quick set the wax, and allow the seal to easily release.
Notes about Sealing Waxes with Wick:
- Sealing waxes with an included wick are ideal for creating seals on demand - easily allowing you to choose any color in your collection without requiring any melting equipment.
- One can use this style of wax easily while on the go.
- Available in a large assortment of wonderful colors.
- Can be slow to use for large projects unless you melt down the sticks.
- Contamination with the wick soot is a possibility.
We also use candle style sealing wax with our Melting Pot, which allows us to melt the wax without soot contamination, remelt and reuse our mistakes, as well as mix colors for a custom look.
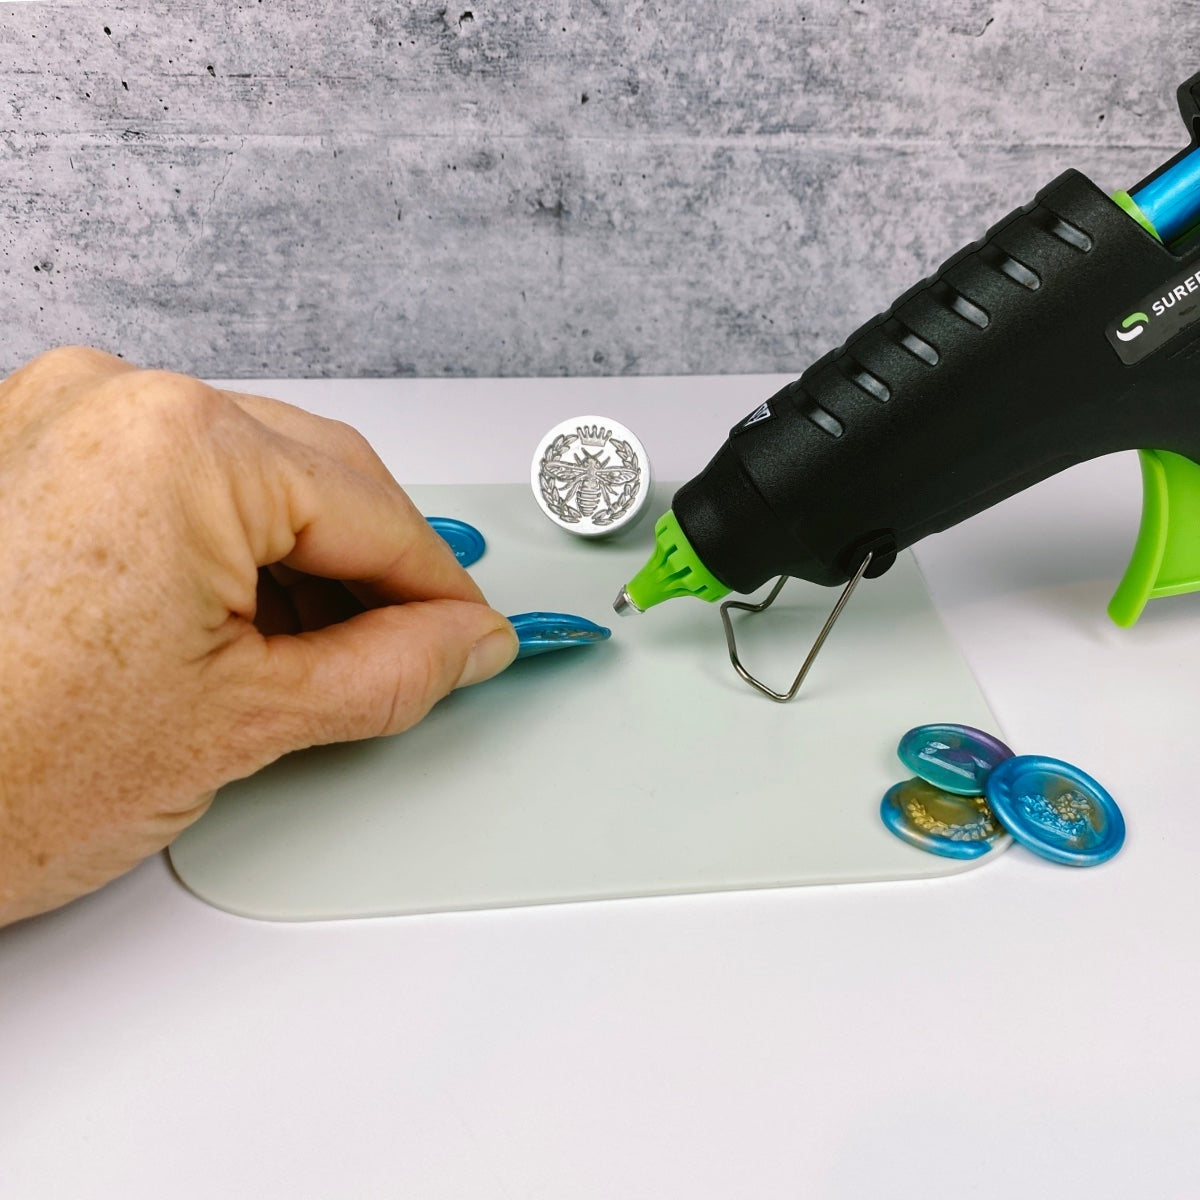
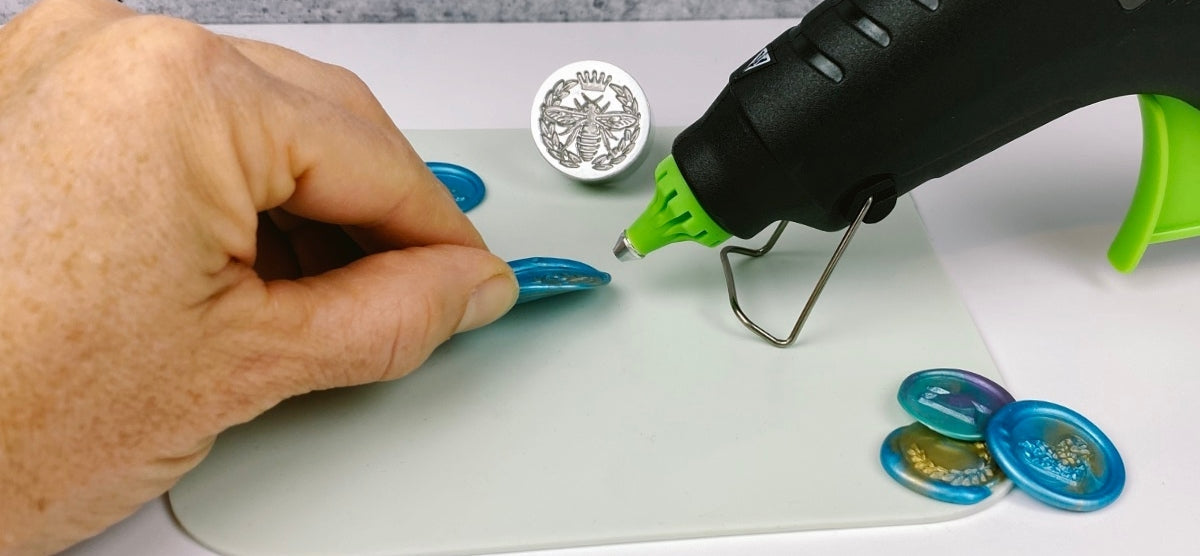
Glue Gun Sealing Wax

- Insert your wax stick into your mini, or standard sized glue gun. Use a second wax stick in the gun to help advance the first.
- Bring the gun to temperature. Resting the gun on a piece of foil will help keep any drips or strings off of your work area.
- Use a few test pulls to get a feel for the quantity of wax you would like to use with your seal. A 3/4 pull of the trigger should produce enough wax for a .75" diameter stamp. Two pulls of the trigger will produce a full seal for the larger 2" sealing coins.
- Waiting for 10-15 seconds before you emboss the wax with your seal will create better definition in the wax. Experiment to find the correct waiting period for the conditions in your area.
- Dab your seal into our Seal Non-Stick, or Highlighting Ink for a dimensional look, to prevent the seal sticking to the sealing wax - or rest your stamp on an ice pack to chill it.
- Emboss with your seal and lift straight up.
If you are not using a non-stick product and find the wax won't let go of the seal, simply let your seal rest on the wax until the wax is completely cool, then lift your seal off.
For strong waxes, we recommend resting your seal on ice (we use a freezer cold pack) before embossing the hot wax - this will quick set the wax, and allow the seal to easily release.
Notes about Glue Gun Sealing Wax:
- This method of sealing wax is useful for large or small projects.
- Glue gun wax is very economical to use.
- Alternating 1" plugs of different colors of glue gun wax will create a unique marbling effect.
- Changing wax colors with a glue gun takes a bit of wax to complete.
- The wax will melt into a pooling chamber within the gun, and new colors will mix with the old, until enough new wax can be run through to clear the color.
- This can create some fun combinations if you plan out your colors!
- If it is important for colors to not mix, you may wish to consider:
- Dedicating one glue gun to one color.
- Cutting pieces of lesser used colors to melt in our melting spoon.
- Using the glue gun wax as a wickless sealing wax and melting near a flame.
We also use Glue Gun Sealing Wax sticks with our Melting Pot, which allows us to reuse our mistakes, as well as change and mix colors.
Faux Sealing Wax
- Insert your Faux Wax Stick into standard sized glue gun. Use a second stick in the gun to help advance the first.
- Bring the gun to temperature. Resting the gun on a piece of foil or glue gun pad will help keep any drips or strings off of your work area.
- Use a few test pulls to get a feel for the quantity of wax you would like to use with your seal. A 3/4 pull of the trigger will produce enough wax for a standard 3/4" seal. One full pull of the trigger will produce a full seal for the larger sealing coins (1.1").
- Waiting for 10-15 seconds before you emboss the wax with your seal will create better definition in the wax. Experiment to find the correct waiting period for the conditions in your area.
- Emboss with your seal and lift straight up.
This is a very strong sealing product, we recommend resting your seal on ice (we use a freezer cold pack) before embossing the hot faux wax - this will quick set the wax, and allow the seal to easily release.
Notes about Faux Sealing Wax:
- Uses no animal products in its production, and is considered vegan.
- Faux wax is very economical to use.
- A glue gun is the best application method.
- Faux wax handles the mailing process better than true waxes.
- Faux wax will adhere to almost any surface without failing.
- Faux Wax is a plastic polymer, which creates a bright and shiny appearance.
- We use Faux Sealing Wax sticks with our Seal Non-Stick + Freezer Cold Packs.
- Alternating 1" plugs of different colors of glue gun wax will create a unique marbling effect.
- Changing wax colors with a glue gun can be a challenge.
- The wax will melt into a pooling chamber within the gun, and new colors will mix with the old, until enough new wax can be run through to clear the color.
- This can create some fun combinations if you plan out your colors!
- If it is important for colors to not mix, you may wish to consider:
- Dedicating one glue gun to one color.
- Cutting pieces of lesser used colors to melt in our melting spoon.
- Using the glue gun wax as a wickless sealing wax and melting near a flame.
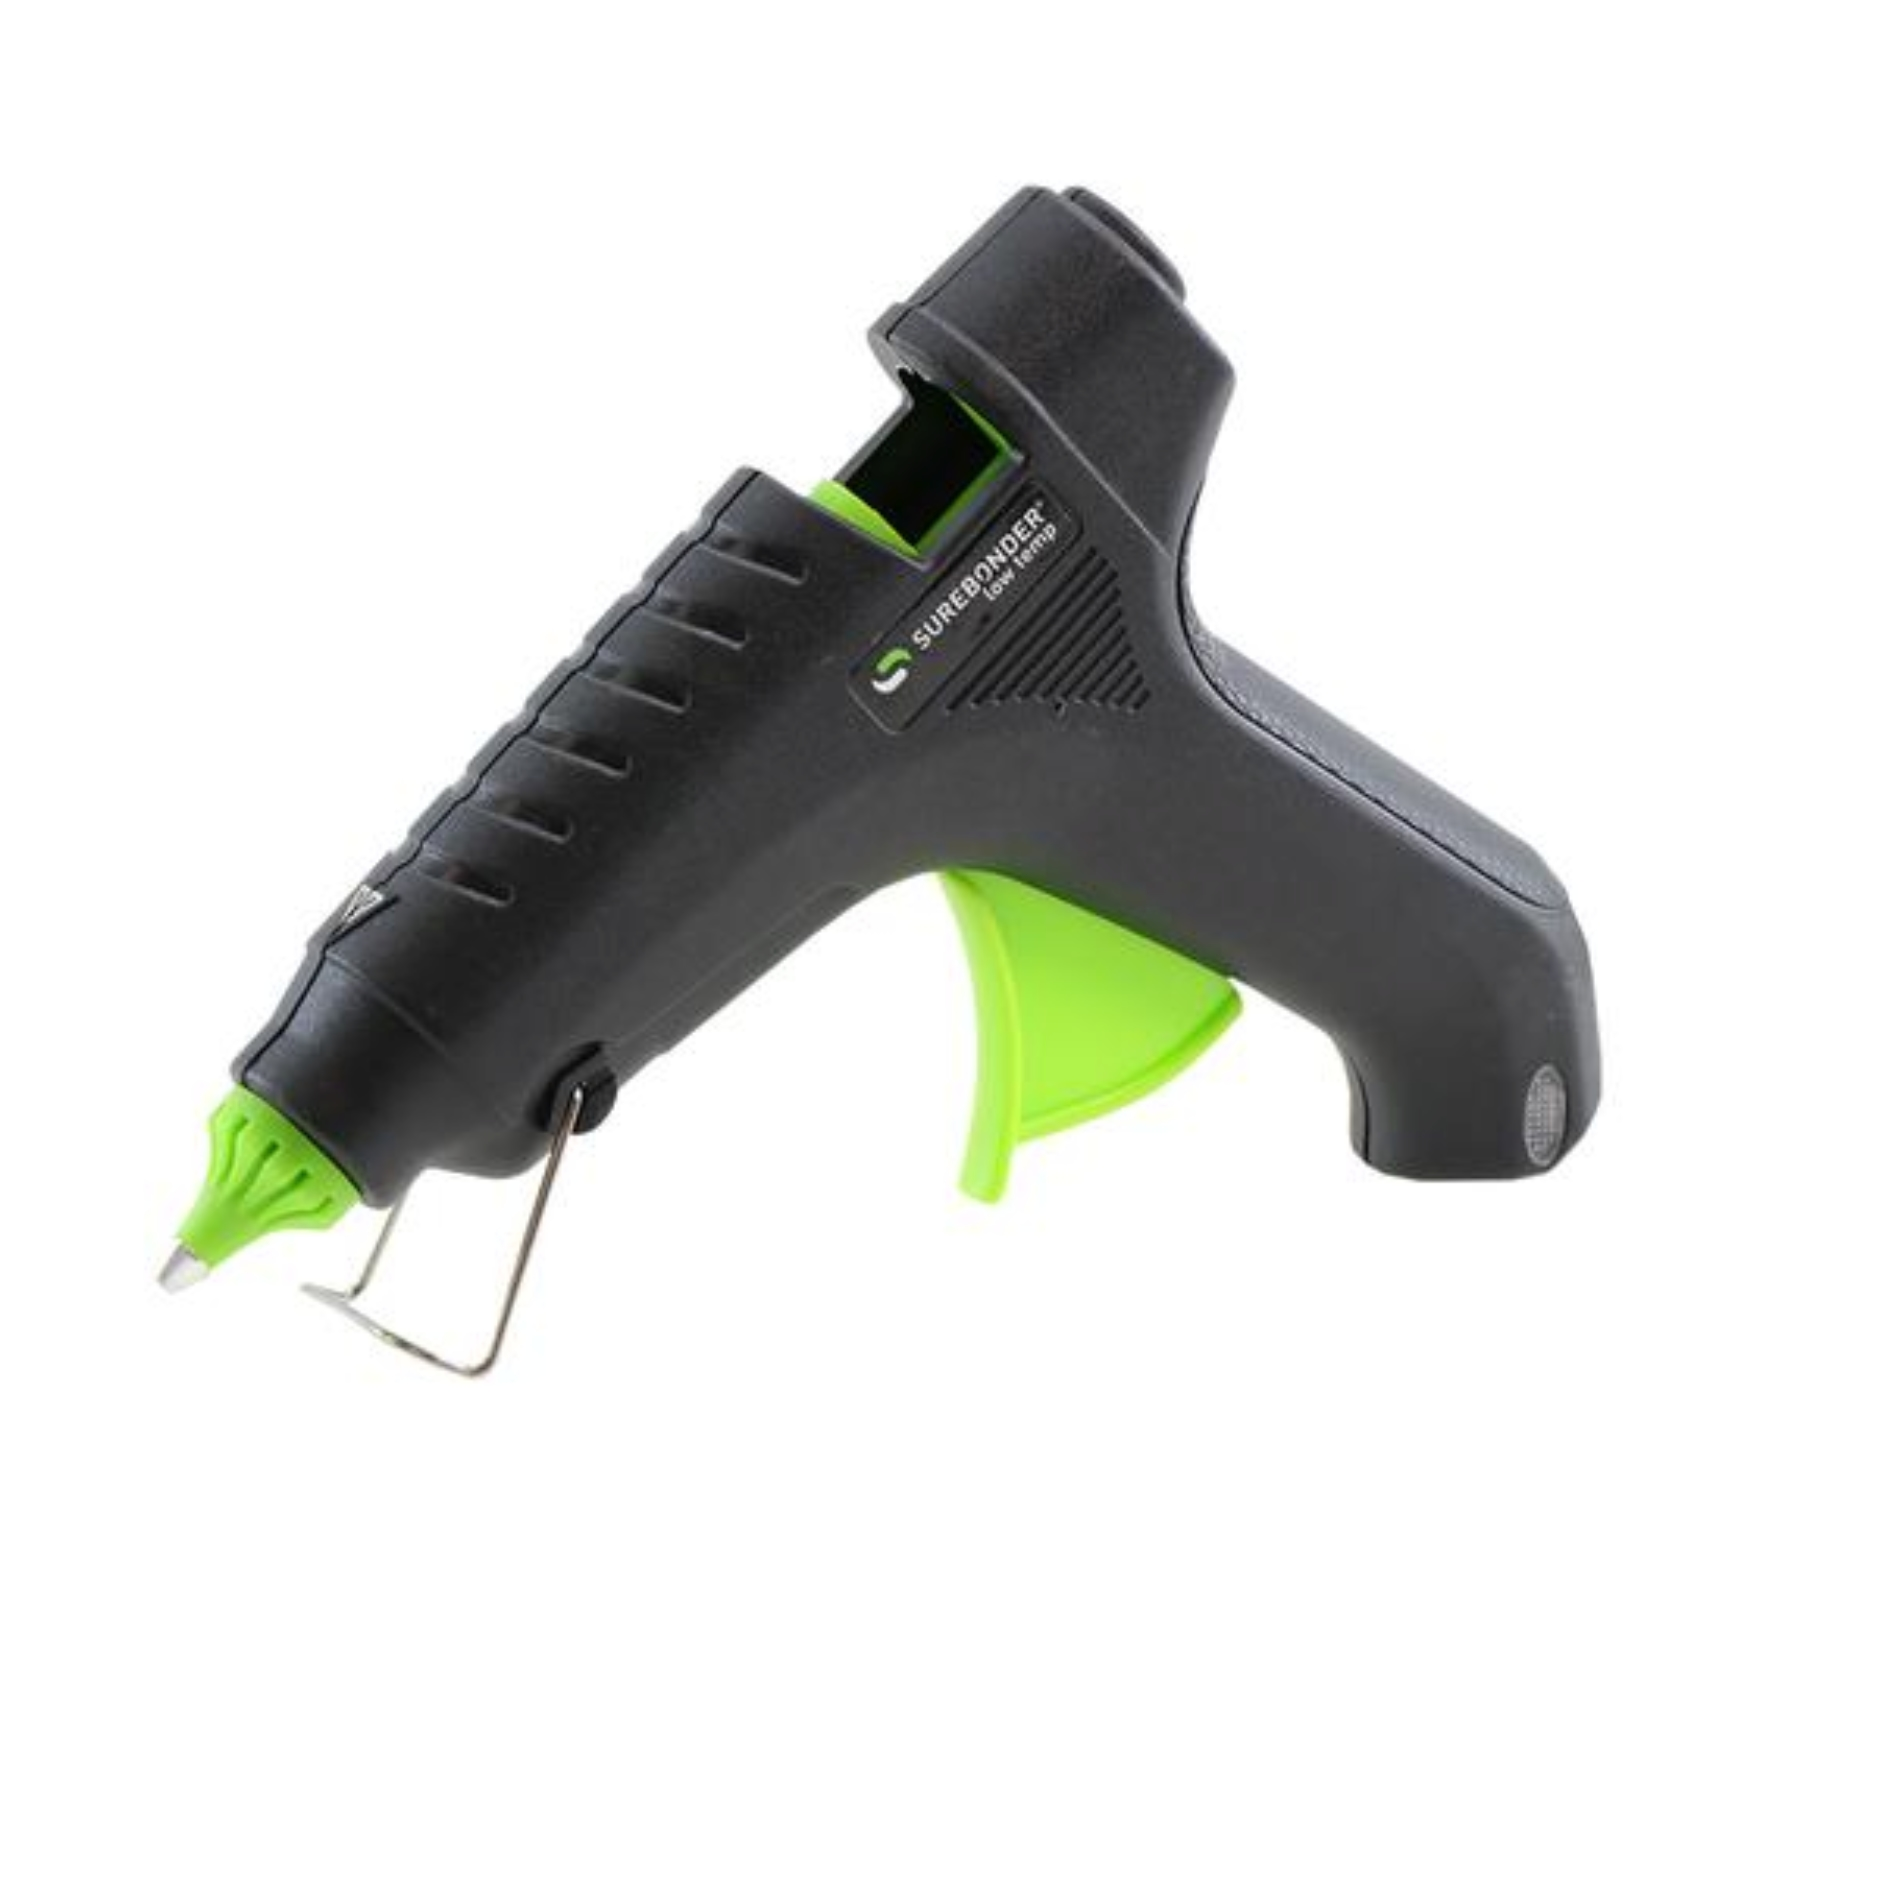
Standard Sized Glue Gun
Faux Wax
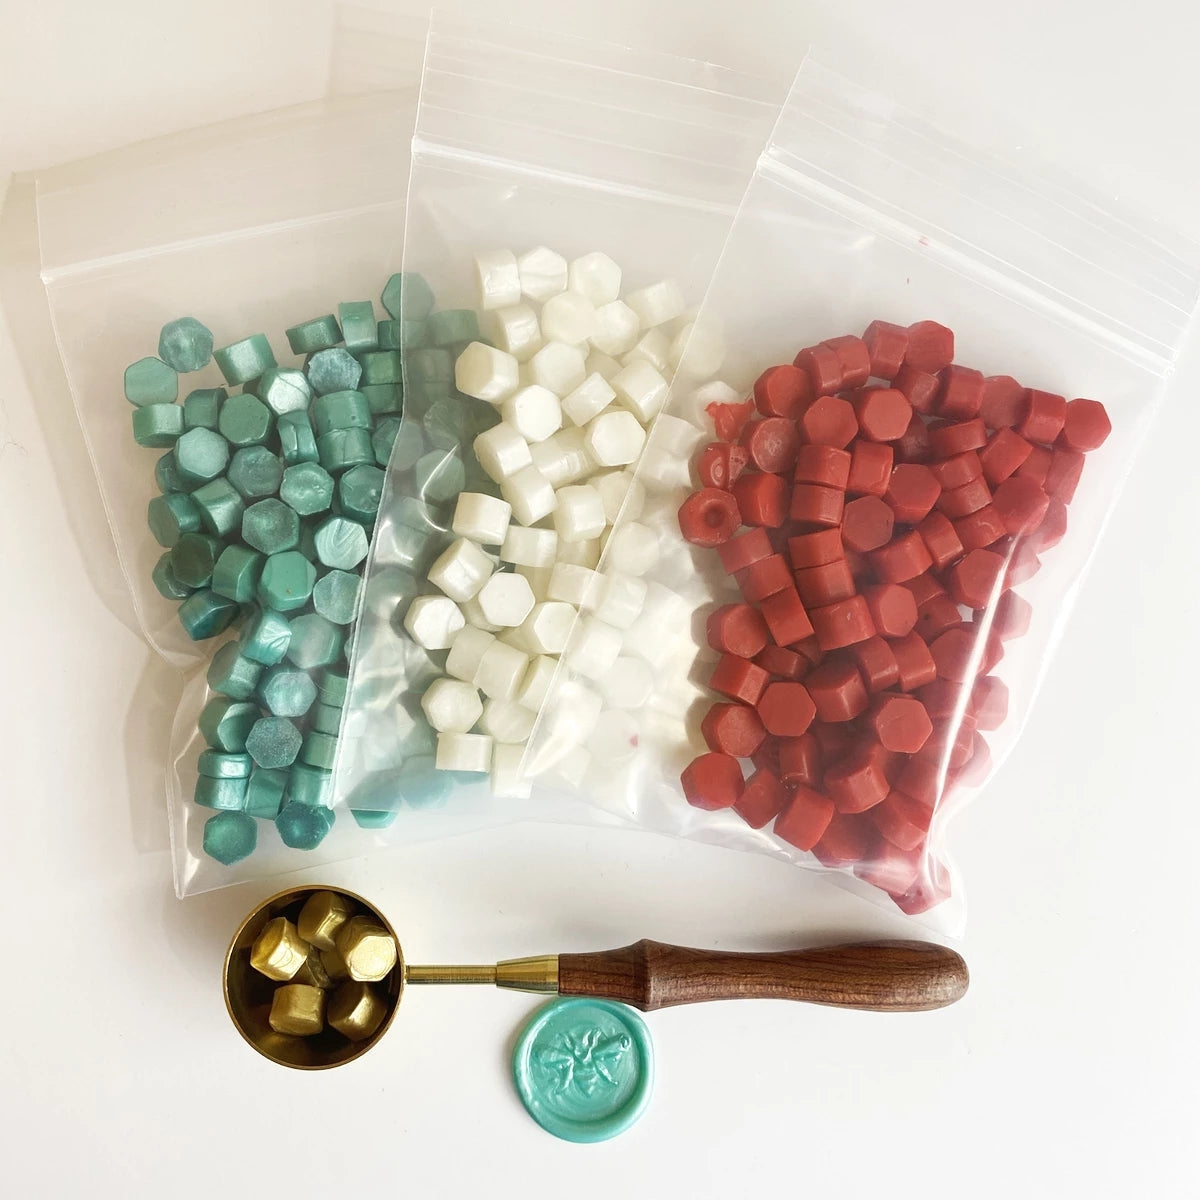
Bead Sealing Wax & Melting Spoon


- Have a heat source available, such as our soy candle.
- Place 3 or more sealing wax beads (or pieces of wax sticks) into a melting spoon, and hold over the flame, our wax melter, or heat gun until the wax is almost completely melted. The melted wax should resemble cold honey. (If you melt all the way, the viscosity may be too thin and spread or run on your project).
- Pour the melted wax onto your project and emboss with your favorite wax seal stamp. Waiting a few moments before embossing may create better definition in the wax, and prevent the wax from thinning.
- Experiment to find the correct waiting period for the conditions in your area.
- Dab your seal into our Seal Non-Stick (or Highlighting Ink for a dimensional look) to prevent the seal sticking to the sealing wax.
- If you are not using a non-stick product and find the wax won't let go of the seal, simply let your seal rest on the wax until the wax is completely cool, then lift your seal off. For strong waxes, we recommend resting your seal on ice before embossing the hot wax - this will quick set the wax, and allow the seal to easily release.
Notes about Bead Sealing Wax:
- Useful for large or small projects.
- Bead wax is the most economical of our waxes.
- It is easy to practice seals on aluminum foil, parchment baking paper, or a silicone baking mat, then remelt the wax in the melting spoon to use again.
- Create new colors and marbling effects by melting colors together.
- We use both the Bead Wax and the Melting Spoon in conjunction with our melting pot, soy candle, and our wax melter - which allow us to reuse our mistakes, as well as change and mix colors.
Seal Non-Stick
Melting Spoon
Soy Candle
Wax Melter
Sealing Wax Beads
Sealing Wax Sticks Without Wicks
Using sealing wax without wicks is the most traditional style of sealing wax.
- Take plenty of time and hold the wax above the flame of a candle, but not near enough to burn (about 1"); a burnt wax makes a streaky seal and is hard to manage.
- When a marble-size amount of wax has gradually softened, but is not dripping, apply it with a circular movement upon the place to be sealed, rub it around and down until you have a circle of proper size and thickness, then pull straight up and apply the seal. The result should be a clear-cut impression.
- If you wish to have a bit more control, slice or break your stick into pieces, place into a melting spoon, and hold over a flame (soot free soy candle, or gas stove).
- Allow wax to melt most of the way, stirring with a toothpick off flame until all wax is melted. This will create a thicker viscosity. Keeping the spoon over the flame until the wax is completely melted may make the wax too thin when poured. If this happens, allow the wax to cool until thicker, then pour.
- Emboss with your seal.
Electric Wax Melting Pot
- Bring the melting pot to temperature by plugging in and waiting a few minutes. Add as many of the wax beads, or wax sticks, as you would like. Once the wax has melted, remove any wicks in the wax with a toothpick. You can add more wax at any time.
- Using a melting spoon, or other ladling device, spoon out your wax and pour onto your project. One full melting spoon will be enough wax to create a complete seal.
- Wait 10-15 seconds before embossing your wax to create better seal definition.
- Dab your seal into our Seal Non-Stick (or Highlighting Ink for a dimensional look) to prevent the seal sticking to the sealing wax.
- Emboss with your seal and lift straight up.
- If you are not using a non-stick product and find the wax won't let go of the seal, simply let your seal rest on the wax until the wax is completely cool, then lift your seal off. For strong waxes, we recommend resting your seal on ice before embossing the hot wax - this will quick set the wax, and allow the seal to easily release.
Notes about our Melting Pot:
- You can use candle sealing wax, glue gun sealing wax, and wax beads with this method. (Just remove any wicks from the melted wax). Faux wax is not recommended for use in melting pots.
- Useful for both large and small projects.
- You can practice on a non stick silicone pad, or baking parchment paper and re-melt the wax over and over, as well as reusing your mistakes.
- You can mix wax colors in the pot.
- Requires electricity.
Melting Pot
Melting/Pouring Spoon
Silicone Non-Stick Pad
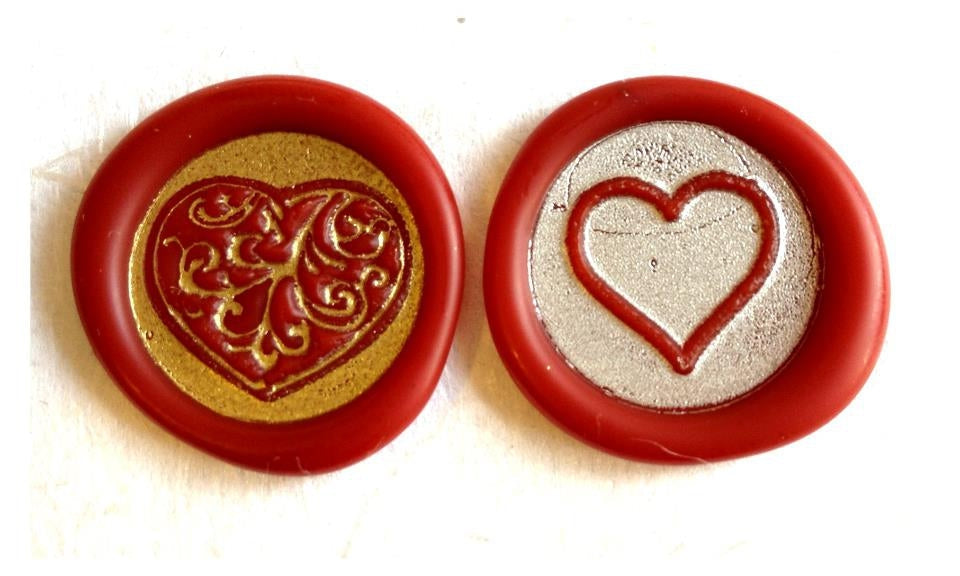
Highlighting Ink


- When creating your seal, our highlighting ink will allow you to highlight the impressed areas of the wax with one easy application of ink to your sealing coin.
- Have your wax melted and ready to emboss with your seal.
- Dab/brush your dry seal onto/across the Ink Pad using even pressure.
- Smooth the ink onto your seal by gently brushing across the surface of the ink pad, to remove any mottled appearance of excess ink.
- Press your seal with even and gentle pressure into the wax, allow the wax to set for a moment, then lift the seal straight up to release.
- Clean your seal with a damp cloth once finished.
Notes about our Highlighting Ink:
- Using Highlighting Ink will help release your sealing coin from any wax, and will help speed up production times with large projects. Our estimate of use allows for roughly 40 seals to be highlighted per pad of ink.
- You may notice the ink starting to dry or build up upon the coin face. This is not a problem, but we recommend making sure this residue does not build up in the engraved area of your seal, and that the residue is removed prior to using a different color of ink or before you emboss wax that you do not want the highlight to appear on.